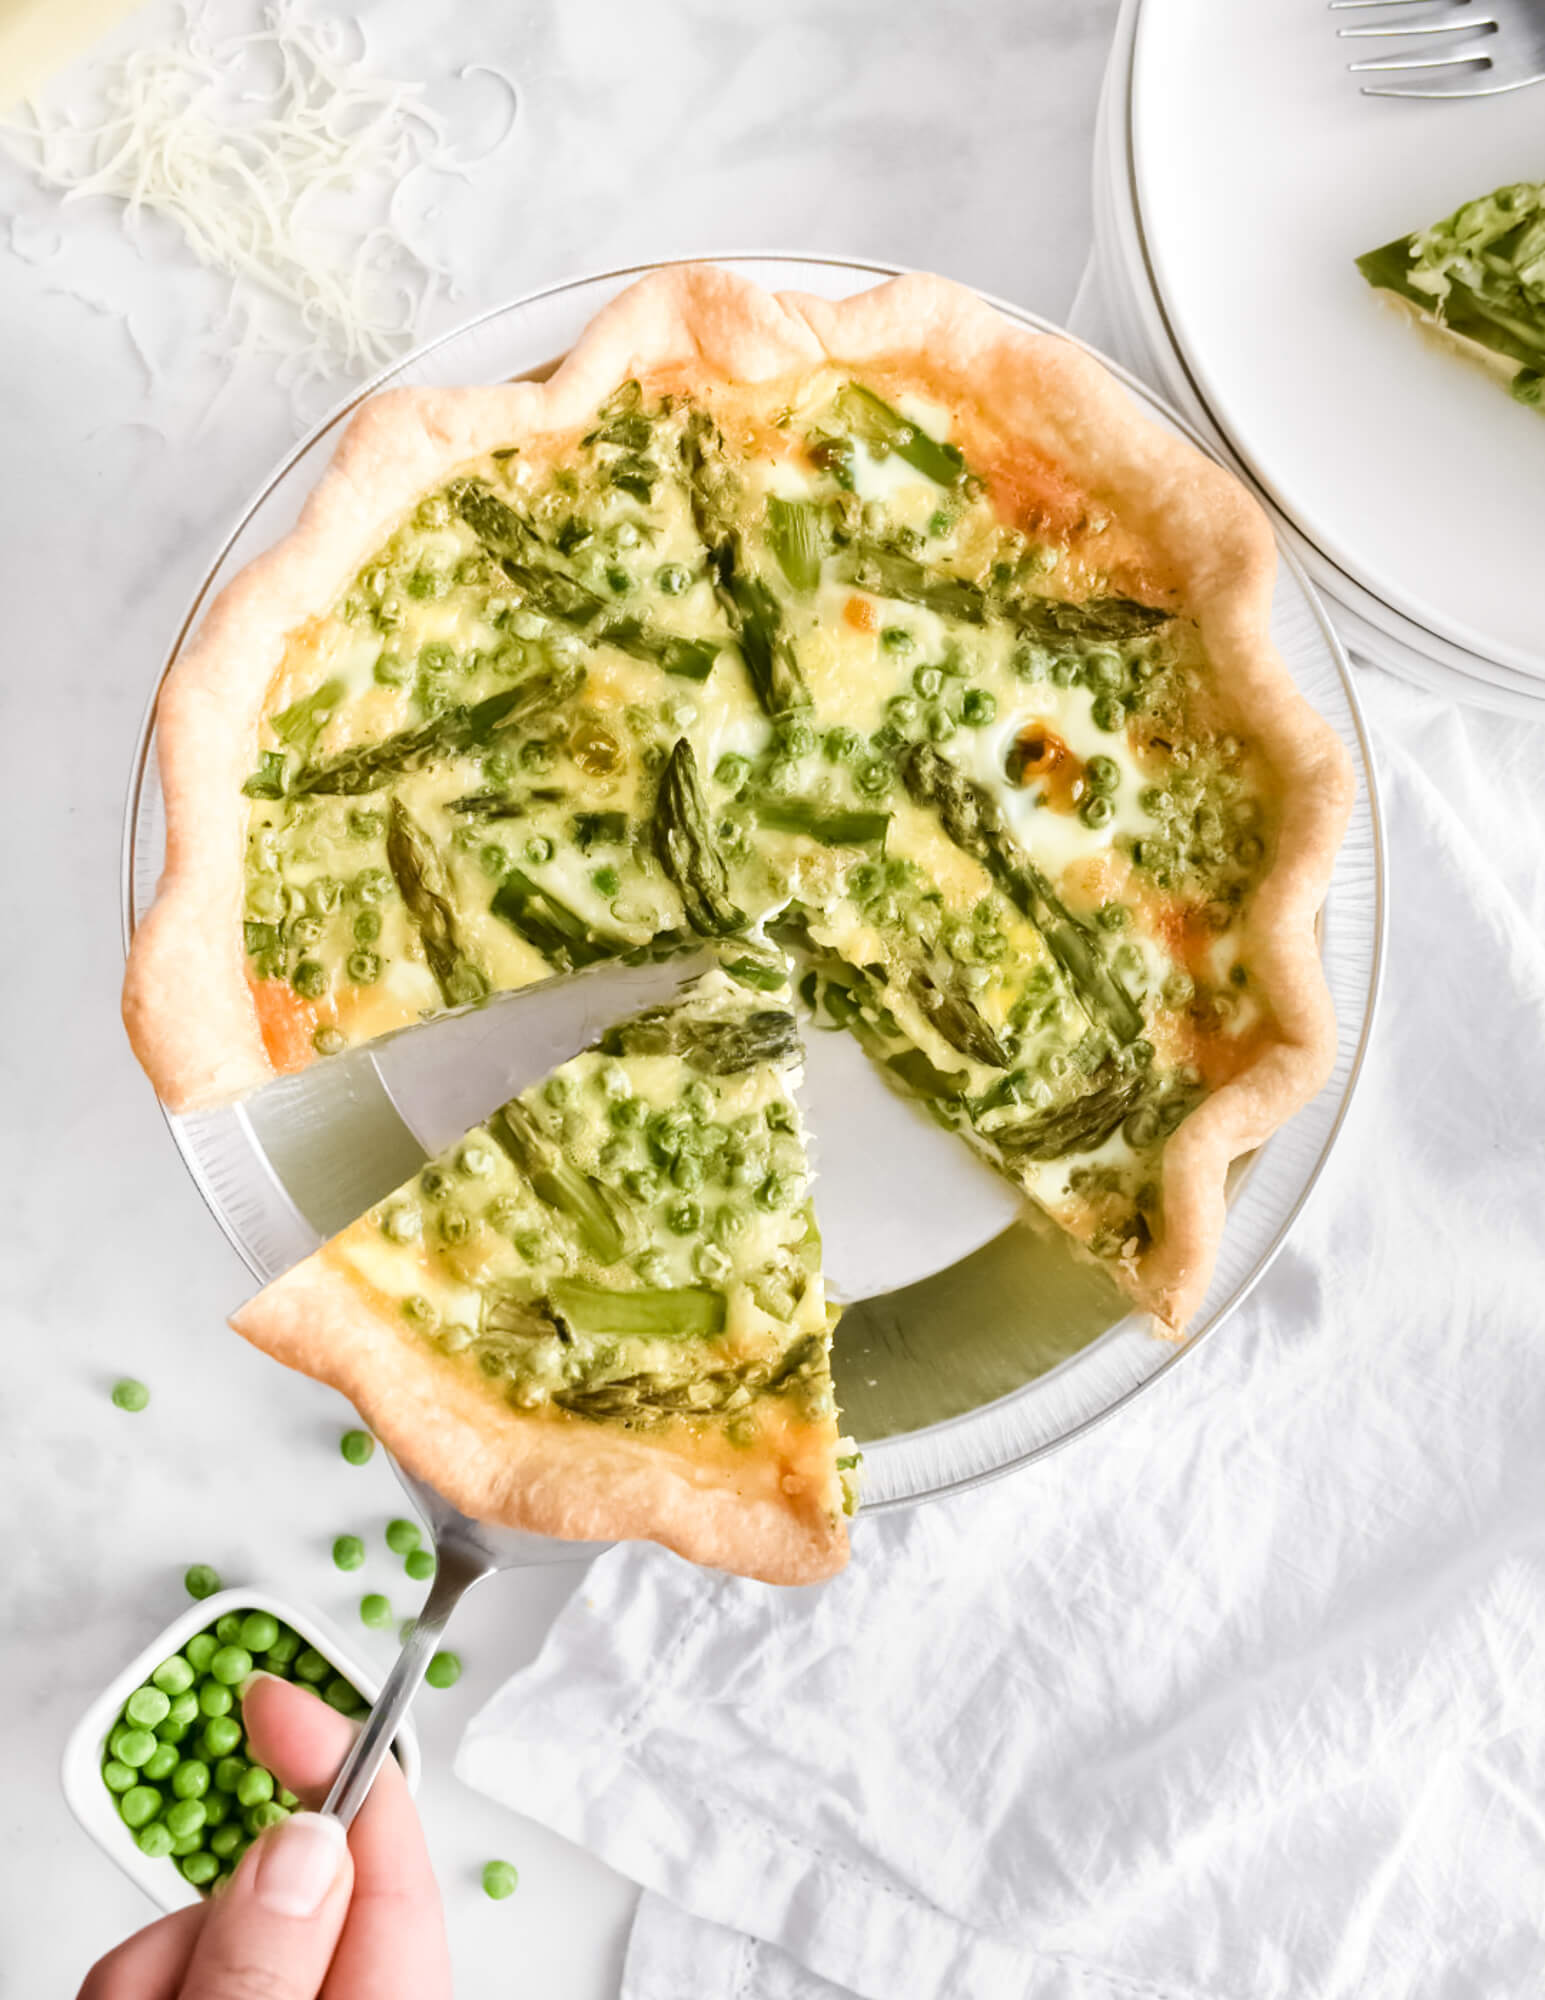
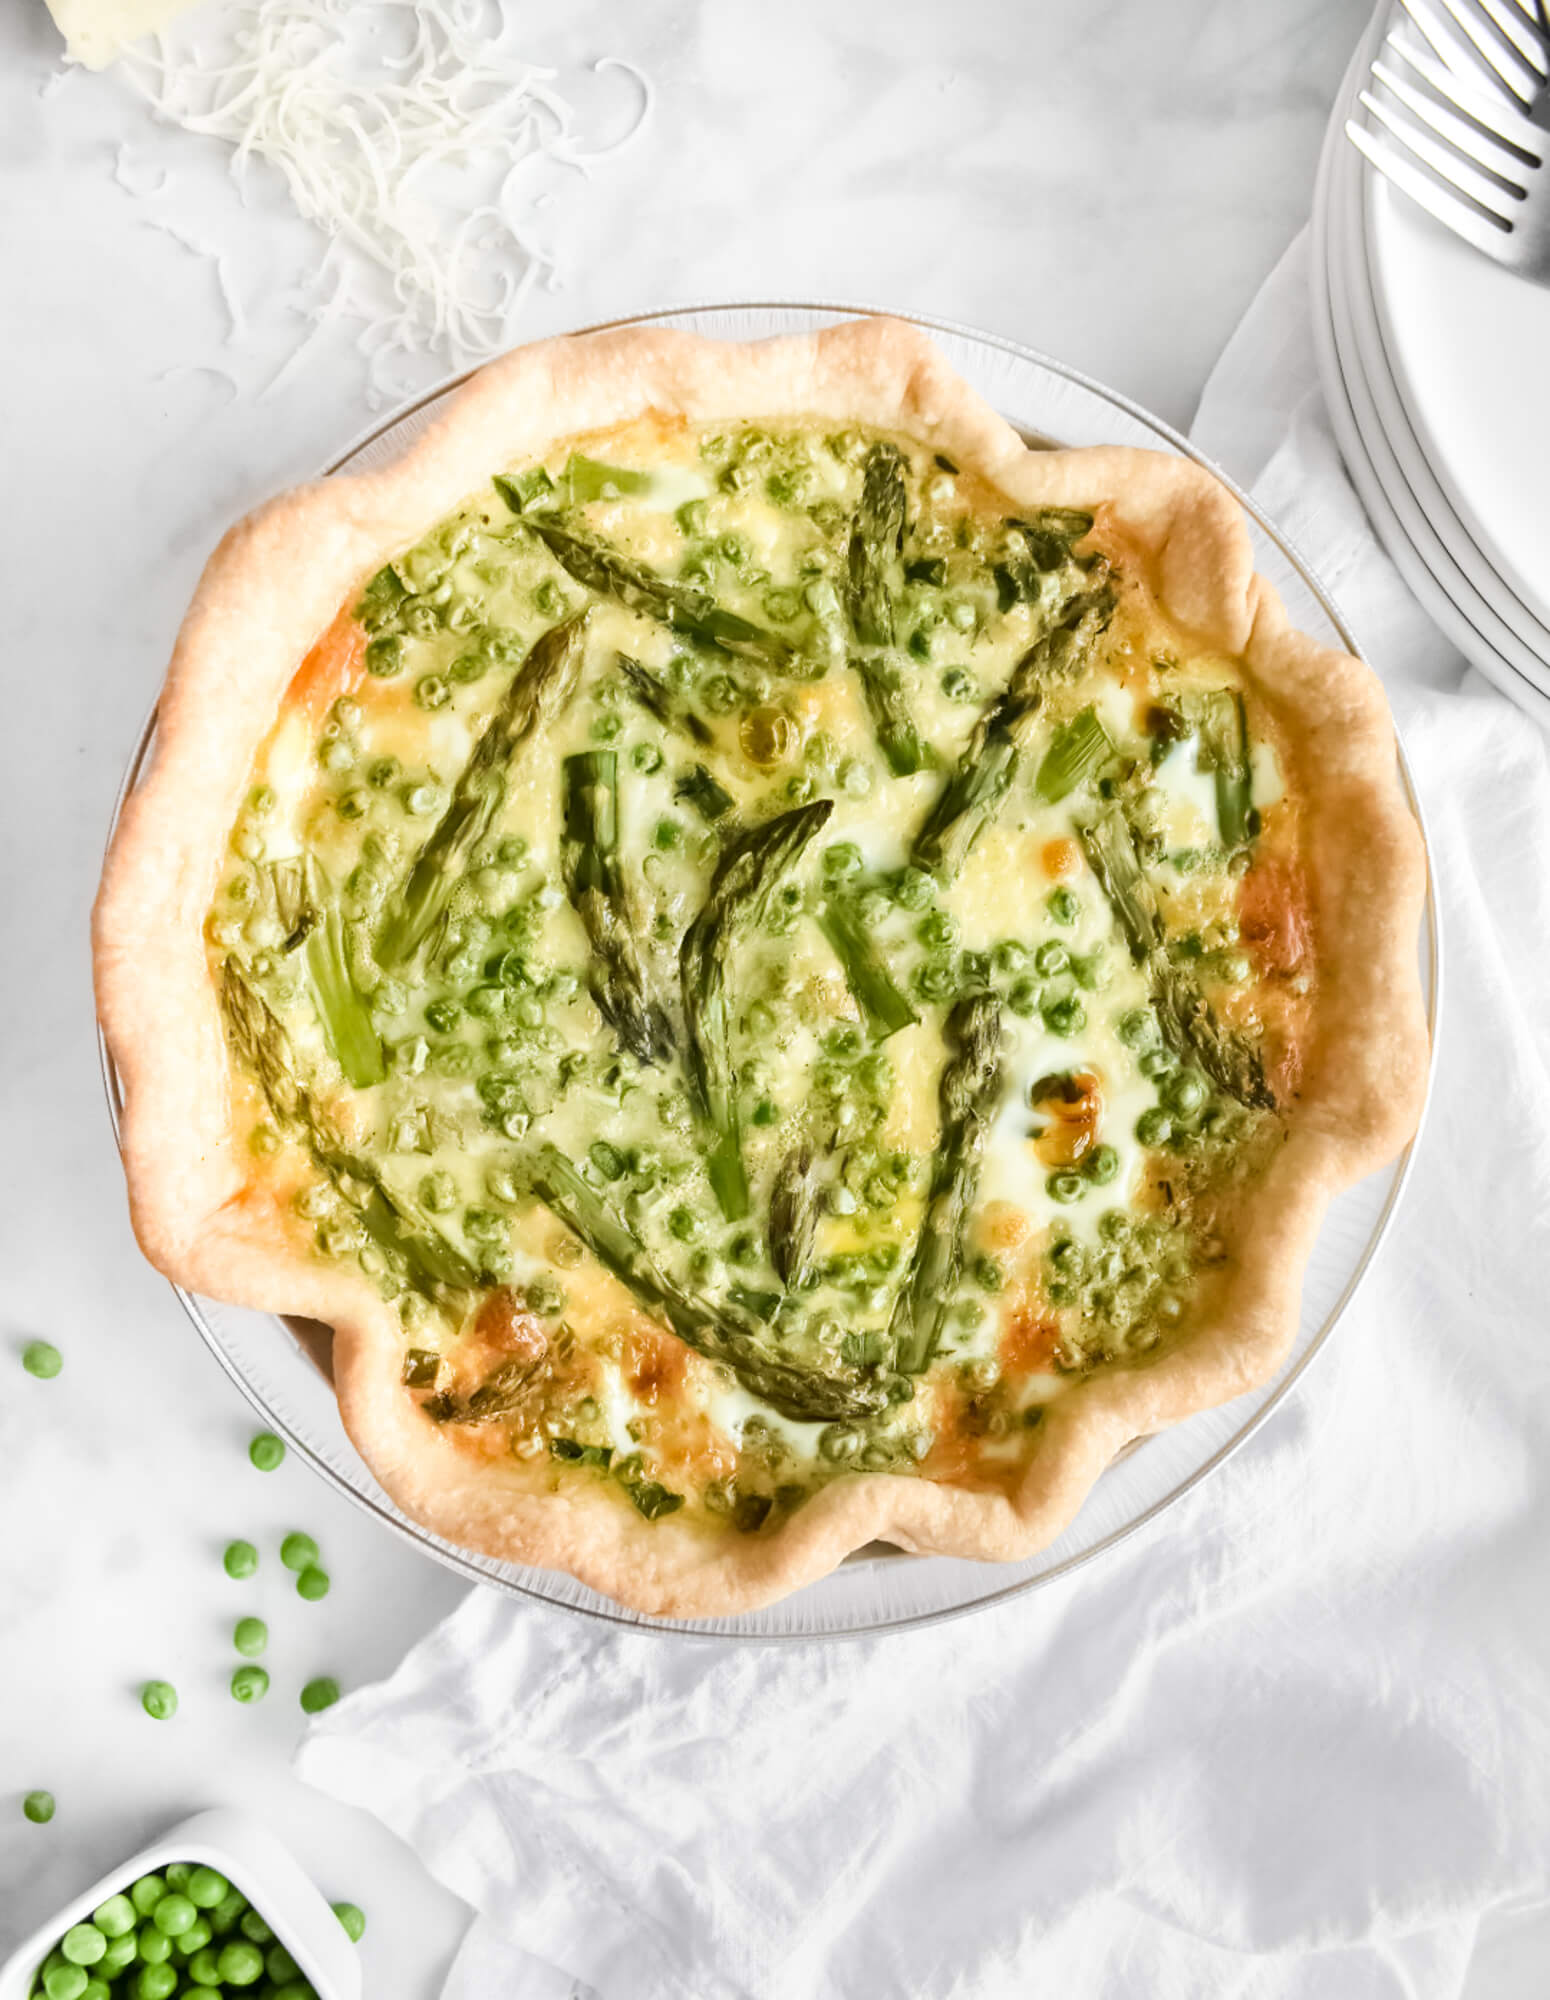
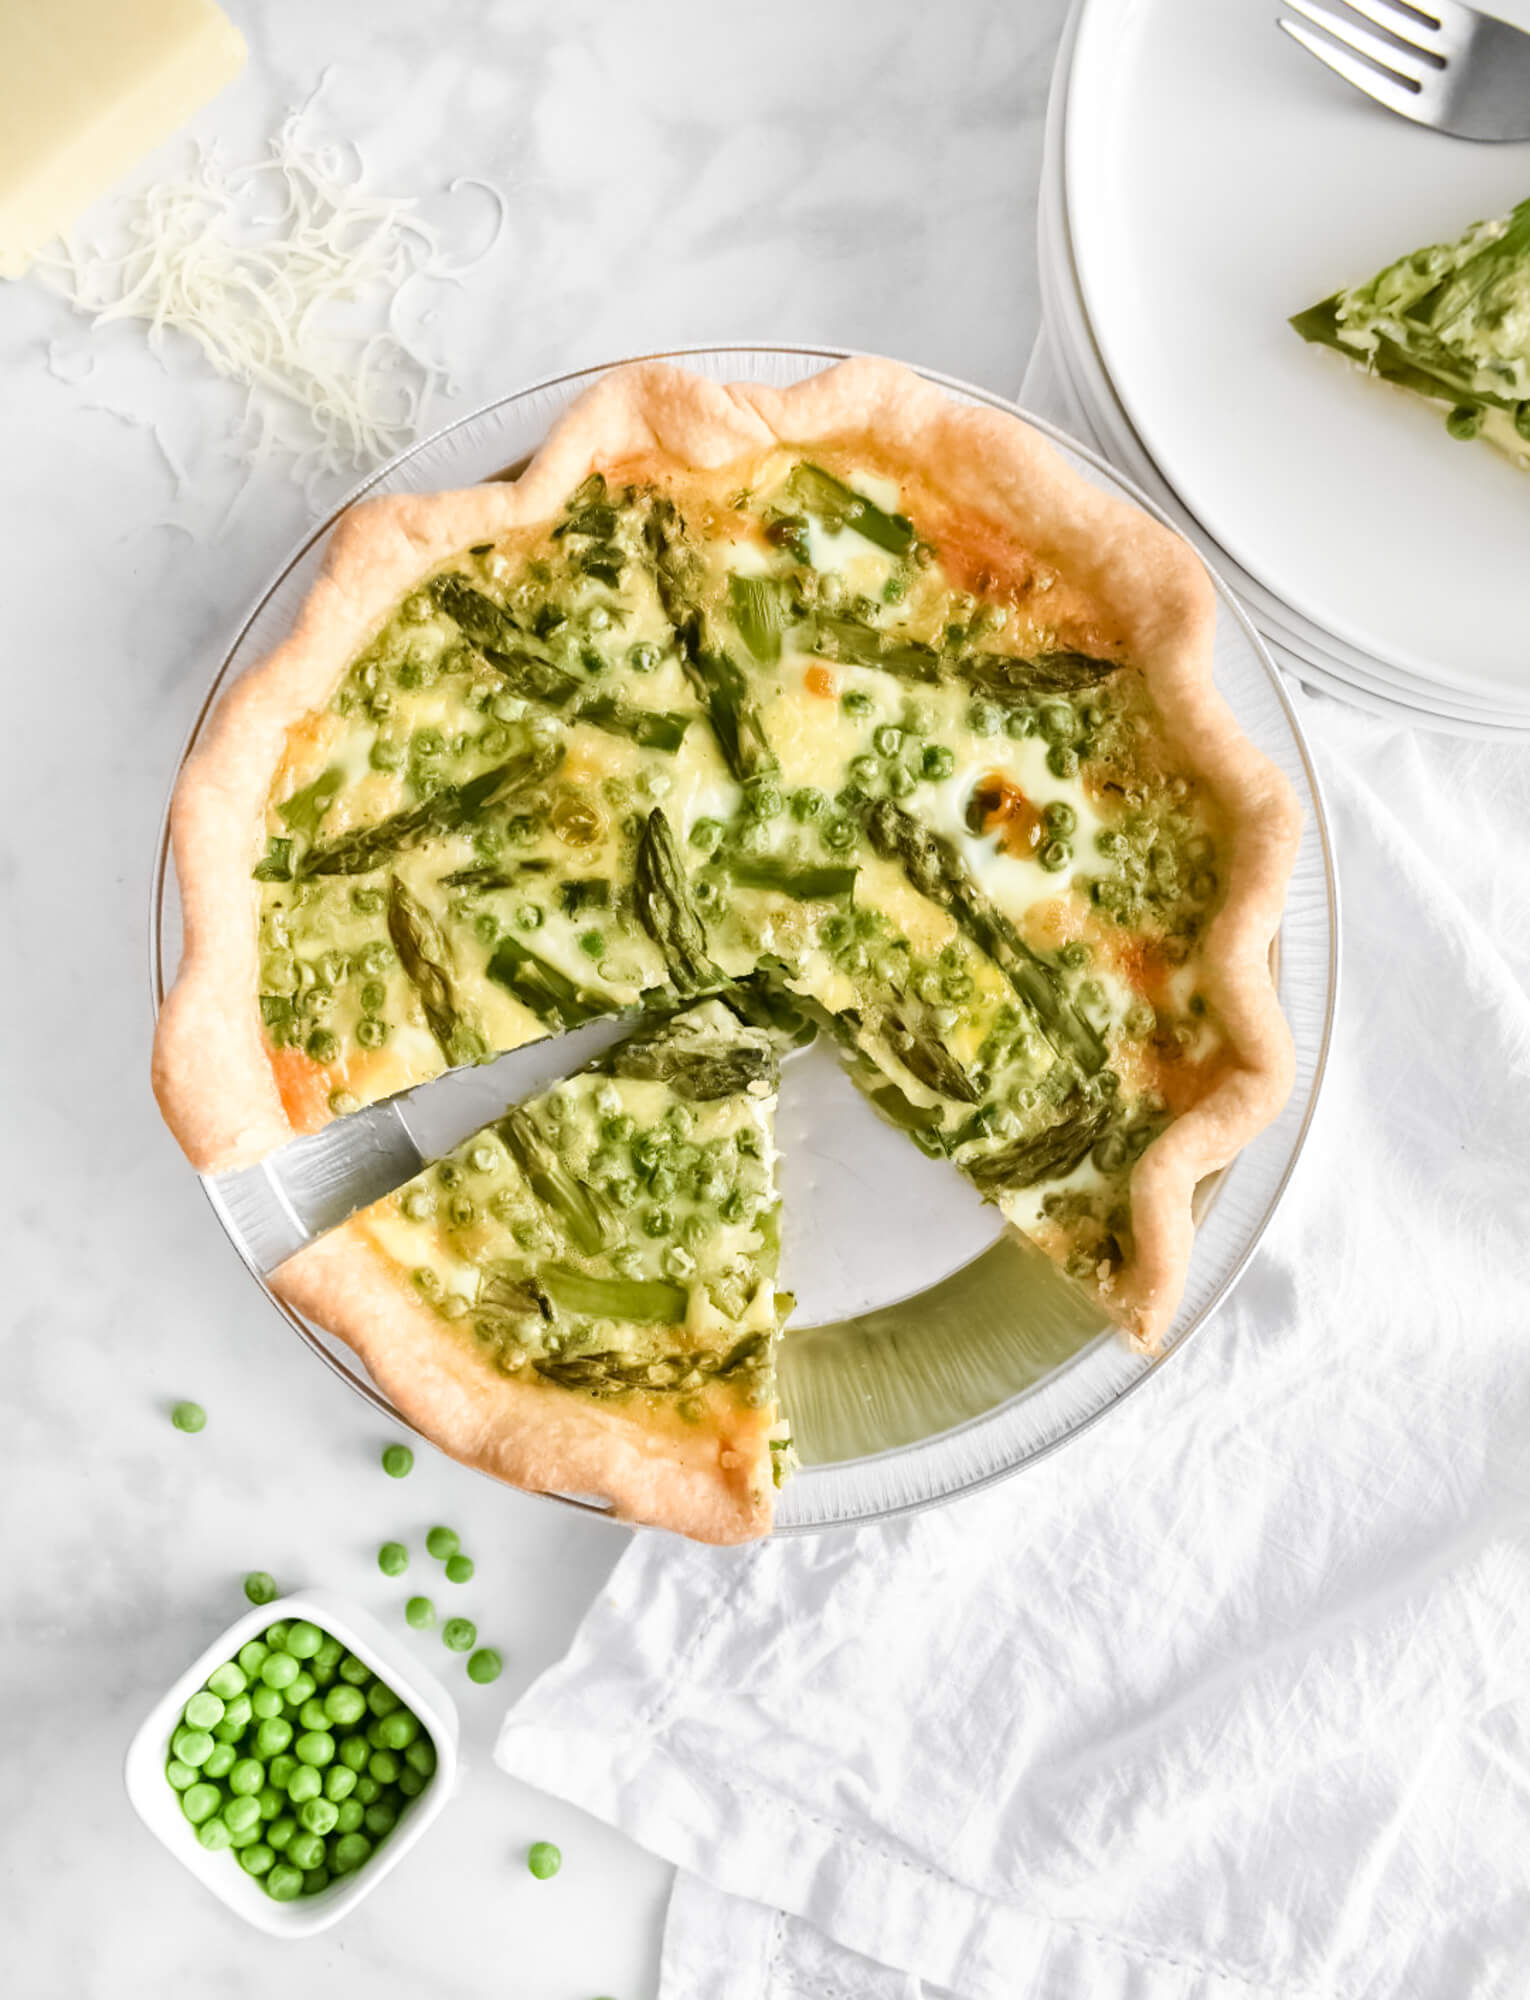
This Asparagus and Pea Quiche is the perfect way to enjoy fresh asparagus and peas during the spring and summer months. The quiche can be served for brunch or simple lunch or dinner. It’s easy to make, healthy and loaded with veggies.
I love a good quiche especially when that quiche includes my favourite veggie (asparagus). This Asparagus and Pea Quiche combines asparagus with peas for a perfect springtime or summertime meal. The beauty of it is it can be served for brunch or even a light meal alongside a nice salad.
This asparagus and pea quiche is not only delicious, but it is nutritious too. It is loaded with healthy ingredients including all the nutritious vegetables as well as eggs and herbs. While not exactly healthy, the buttery pie crust its baked in adds to the delicious flavor and makes this a dish a hit with the whole family.
While it is easy enough to whip up for any weekend brunch of weekday meal, this dreamy quiche is perfect to serve during celebrations too. In fact, we often whip it up for Easter and Mother’s Day!
Another bonus? Just like any other quiche, this asparagus and pea quiche can be made ahead of time, making your life a bit easier too.
Ingredients in Asparagus and Pea Quiche
- Flour: All purpose flour is used to make the pie crust.
- Seasoning: Salt is used in both the pie crust and the filling. Black pepper is used to season the filling as well.
- Butter: cold, cubed unsalted butter.
- Ice cold water: Used to add moisture to the pie crust. Using ice cold water is important to help prevent the butter from melting. Cold butter is what makes pie crusts tender and flaky.
- Veggies: Asparagus, peas, green onions.
- Eggs
- Havarti cheese: Grated Havarti is used in the filling to make it deliciously cheesy. You can easily replace the Havarti with another melty cheese like cheddar, mozzarella, or Gouda, for example. Adding Parmesan cheese to the filling is also a delicious option.
- Milk
- Thyme: Fresh thyme is used in the filling but this can easily be replaced with dried thyme if you do not have fresh. As a general rule, use about 1/3 the amount of dried herbs to replace the fresh ones. In this case, that would mean you would use 1/2 a teaspoon of dried thyme. The thyme can also be replaced with another herb like rosemary, basil, tarragon, or oregano.
**Note: Ingredient quantities and full instructions are in the recipe card at the end of this post.**
How to make asparagus and pea quiche
- Combine the pie crust ingredients. To make the crust, add flour and salt to the food processor. Add cold butter and pulse until it resembles a coarse meal. Add 6 tablespoons of ice cold water and pulse a few more times. The dough should be beginning to clump together. Turn the dough out onto a floured surface and knead it into a ball. Flatten it down into a disk and cover them in plastic wrap. Refrigerate them for an hour.
- Roll out the crust and blind bake it. Preheat oven to 375F. Remove the pie crust disk from the fridge and remove the plastic wrap. Using a floured rolling pin, roll the disk out to be slightly larger than your pie dish. Carefully transfer the crust onto the pie plate and trim any excess dough. Crimp the edges or decorate the edges any way you prefer. Pierce the bottom of the pie crust with a fork. Place a piece of parchment paper over the pie crust and use pie weights to hold it down. Place it in the oven to blind bake it for about 10-15 minutes.
- Prepare the egg mixture. Meanwhile, in a large bowl, add the eggs, cheese, milk, thyme, salt and pepper. Whisk them together.
- Add the veggies and egg mixture to the crust and bake. Remove pie crust from the oven and carefully remove the pie weights and parchment. Arrange the asparagus pieces, peas and green onion onto the crust. Then pour the egg mixture on top of it. Put the quiche back in the oven and bake it for approximately 40-45 minutes or until set.

Tips to prepare the perfect pie crust
Quiche is pretty easy to make and this recipe is no exception. The filling for the quiche is super simple and doesn’t require much fussing. The “hardest” part is the crust and I can tell you that it isn’t hard to do at all! In fact, its pretty darn simple and I make homemade crust all the time! My number one tip for making a super simple crust?
Use a food processor to make your crust
If you have a food processor tucked away in your cupboards, I am here to tell you that you need to break that bad boy out asap! My food processor is easily my favourite appliance to use in the kitchen. In fact, it is the only way I make my pie crusts! It also is used pretty darn often for scones too!
Don’t have a food processor?
You can still make your own pie crust! Instead use a pastry cutter or two butter knives to “cut” the butter into the flour until it resembles a coarse meal. Then add in the cold water and knead it to bring it all together, being careful not to knead too long and melt the butter (you want to keep your butter cold for that perfect flaky pie crust).
If you are looking to simplify the process further, a store-bought crust is your friend! There’s nothing wrong with taking this shortcut and I have done it too at times.
Keep your ingredients cold
As mentioned earlier, you want to avoid melting the butter. Cold butter is what helps make the crust flaky and tender. Using a food processor helps with this as it is a quick way to bring together your ingredients and it prevents you from handling your dough with your hands and warming the butter.
Using ice cold water also helps to keep the butter cold, so don’t be tempted to use room temperature water!
Finally, chilling the dough before rolling it will help bring the butter back to a cold temperature.
Blind bake your pie crust.
What is blind baking? Blind baking is essentially pre-baking. It’s when you begin cooking your pie crust before you add your filling. This helps to ensure that your crust is perfectly cooked. The last thing you want is an undercooked crust with a soggy bottom. Or, just as bad- being forced to overcook your filling because your crust hasn’t browned nicely yet.
For this recipe, I only par-bake the crust (only for about 10 minutes) to get the process going. There are two things I do to ensure my blind bake goes well.
- Pierce the pie crust with a fork.
- Weigh down the crust with parchment and pie weights (or dry beans).
If you do not do these steps before blind-baking your crust, your pie crust can puff up and become uneven. The sides can also begin to shrink down as the butter begins to melt in the oven. So to prevent this, I add a piece of parchment into the center of the crust and then use pie weights to help hold the pie crusts shape. If you do not have pie weights, dry beans will do the trick.
How to store Asparagus and Pea Quiche and reheat it
Cooked quiche can be stored in the fridge for several days. To do this, once it is cooled, cover it with plastic wrap and pop in the fridge until you are ready to eat it. To reheat it, remove the plastic wrap and pop it in the oven at 350F to heat through. I usually bake it for about 20 minutes or so until the center is heated through. You can do the same with pre-cut slices as well and just bake them until they are warmed through.
Fun tip: If you have an air fryer, I find it is the fastest way to heat up a slice for a quick meal! It takes be about 5-7 minutes at 350F (though this will depend on how big your slices are).
Can you freeze asparagus and pea quiche?
Yes, You can freeze quiche! I often double my recipe when I am making quiche so that I have 2- one for now, and one for future me! I bake the quiches as per the instructions. Then, once completely cooled, I wrap the quiche up with layers of plastic wrap and pop it into a freezer safe bag to prevent freezer burn.
When you are ready to enjoy the quiche, allow it a day to thaw in the fridge and then reheat it in the oven until it is warmed through (about 20 minutes at 350F).
If you tried this recipe and loved it as much as we do, I’d love to hear about it! Be sure to leave a comment below!
-Cathy
You may also like:
Bacon & Leek Quiche
Crustless Asparagus & Feta Quiche
Zucchini & Feta Quiche

Asparagus and Pea Quiche
Ingredients
Pie Crust
- 1 1/4 cups all purpose flour
- 1/2 teaspoon salt
- 1/2 cup butter cold, cubed
- 6 tablespoons ice cold water
Filling
- 8 spears asparagus ends trimmed and cut into 1 inch pieces
- 1 cup peas fresh or frozen
- 2 green onions chopped
- 6 large eggs
- 1/2 cup Havarti cheese (or any mild melty cheese), grated
- 1/2 cup milk
- 1 1/2 teaspoon fresh thyme
- 3/4 teaspoon salt
- 1/4 teaspoon black pepper
Instructions
Prepare the pie crust:
- To make the crust, add flour and salt to the food processor. Add cold butter and pulse until it resembles a coarse meal. Add 6 tablespoons of ice cold water and pulse a few more times. The dough should be beginning to clump together. Turn the dough out onto a floured surface and knead it into a ball. Flatten it down into a disk and cover them in plastic wrap. Refrigerate them for an hour.
- Preheat oven to 375F. Remove the pie crust disk from the fridge and remove the plastic wrap. Using a floured rolling pin, roll the disk out to be slightly larger than your pie dish.
- Carefully transfer the crust onto the pie plate and trim any excess dough. Crimp the edges or decorate the edges any way you prefer. Pierce the bottom of the pie crust with a fork. Place a piece of parchment paper over the pie crust and use pie weights to hold it down. Place it in the oven to blind bake it for about 10-15 minutes.
Prepare the filling:
- Meanwhile, in a large bowl, add the eggs, cheese, milk, thyme, salt and pepper. Whisk them together.
- Remove pie crust from the oven and carefully remove the pie weights and parchment.
- Arrange the asparagus pieces, peas and green onion onto the crust. Then pour the egg mixture on top of it. Put the quiche back in the oven and bake it for approximately 40-45 minutes or until set.
Notes
Note: Metric ingredient measurements are provided as a courtesy using a third-party calculator and are rounded to the nearest unit. The recipes provided on this site have not been tested with metric measurements and their accuracy cannot be verified.
Nutrition
The nutritional information provided is based on third-party calculations and is an estimate only. Accurate nutritional facts will vary based on the particular brands used, portion sizes, measurement accuracy and more.


I made the Asparagus Quiche very nice healthy summer meal accompanied with new baby potatoes.
So easy to make.
Recommend 5 ☆☆☆☆☆
Thank you! It’s a favourite in our house!