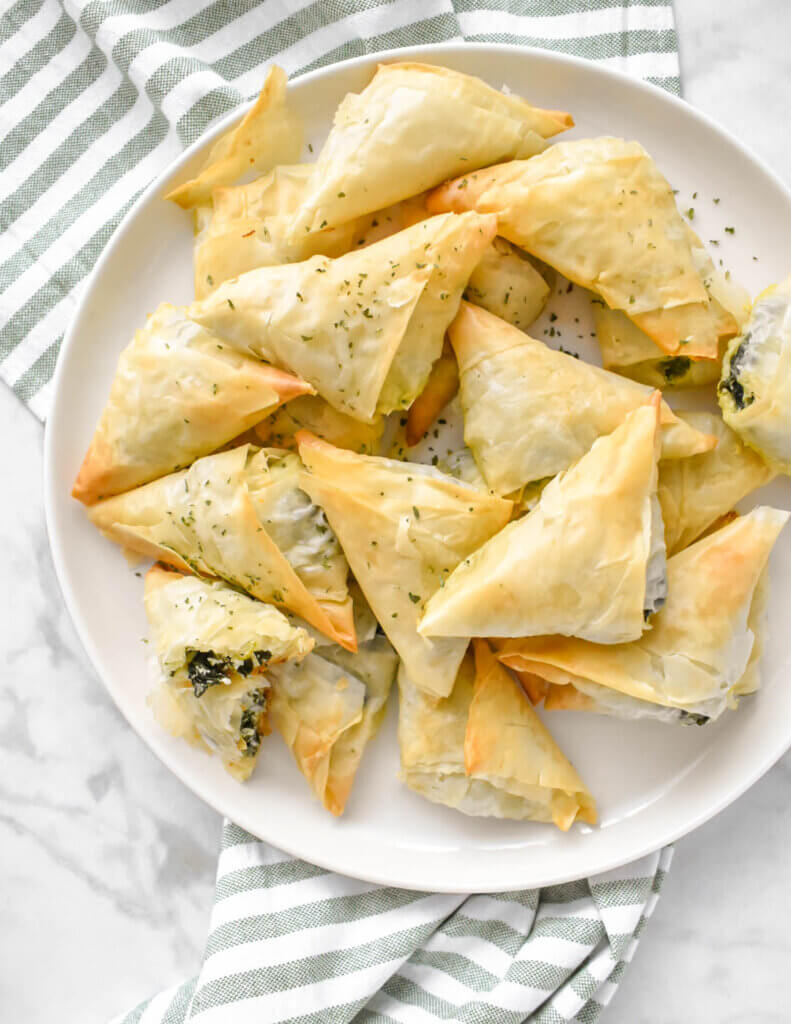
These Spanakopitakia (Spinach and Feta Filo Triangles) are the perfect appetizer, snack or even light meal idea. They go great on a mezze platter and can be made in advance as well! That makes them perfect to have on hand for snacks or parties.
One of my favourite things to do with my mom in the kitchen growing up was making these Greek spanakopita triangles. For as long as I can remember, we made these delicious flaky parcels together, sitting around the kitchen table and assembling them with Greek music playing in the background.
The whole process was so much fun and the end result was so delicious! We usually made tiropitakia which are just cheese filled triangles but this spanakopita recipe is also at the top of my favourite Greek appetizer list.
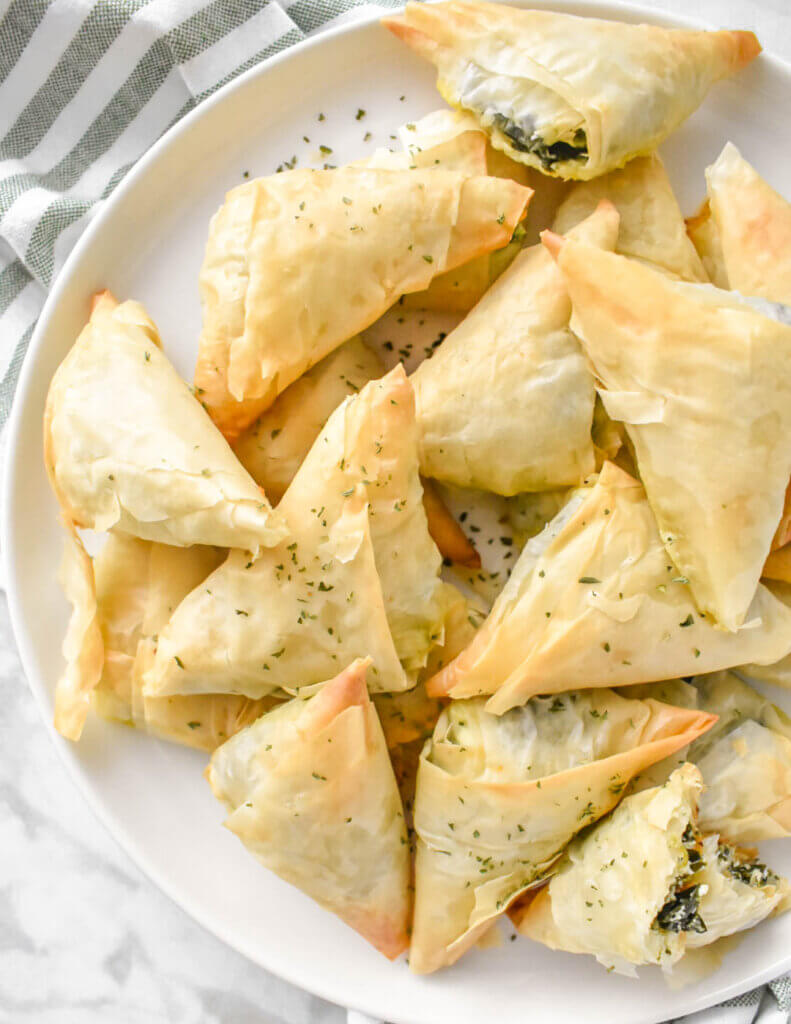
When I made this spanakopita triangles recipe with my mom, we often did so around the holidays and froze the majority of them to use when needed. This way we had them ready on hand for any family gathering that popped up around the holiday season. I have included my tips on the best way to make this authentic spanakopita triangles recipe in a section below.
Are you ready to have some fun making these? Don’t be afraid to get a little messy and get the kiddos involved! Like I said, this was my favourite thing to do with my mom as a kid and I continued to make them with her every year until I moved out and started making them in my own home.
The beauty of these is that, while filo pastry sheets are delicate, even if they rip a bit or don’t fold into the most perfect triangle, that is okay! They always taste delicious and what is wrong with a little rustic charm?
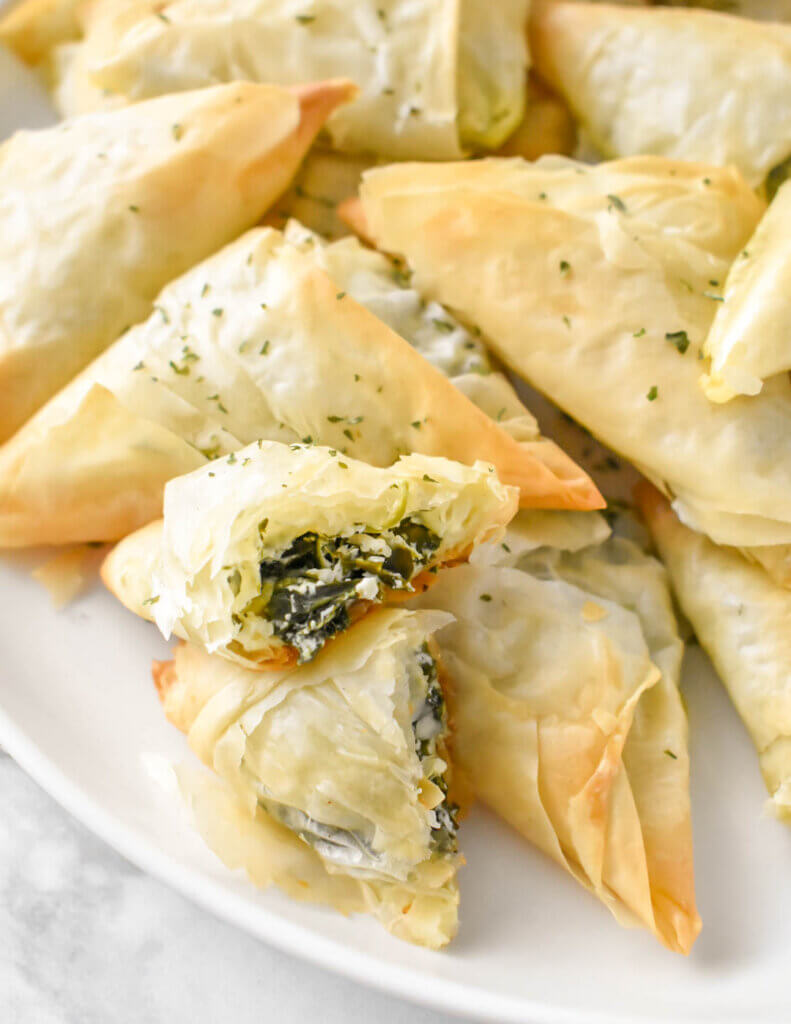
One bite into these and the flaky filo shatters anyway making a delightful mess. So enjoy it all and let those little hands take part too!
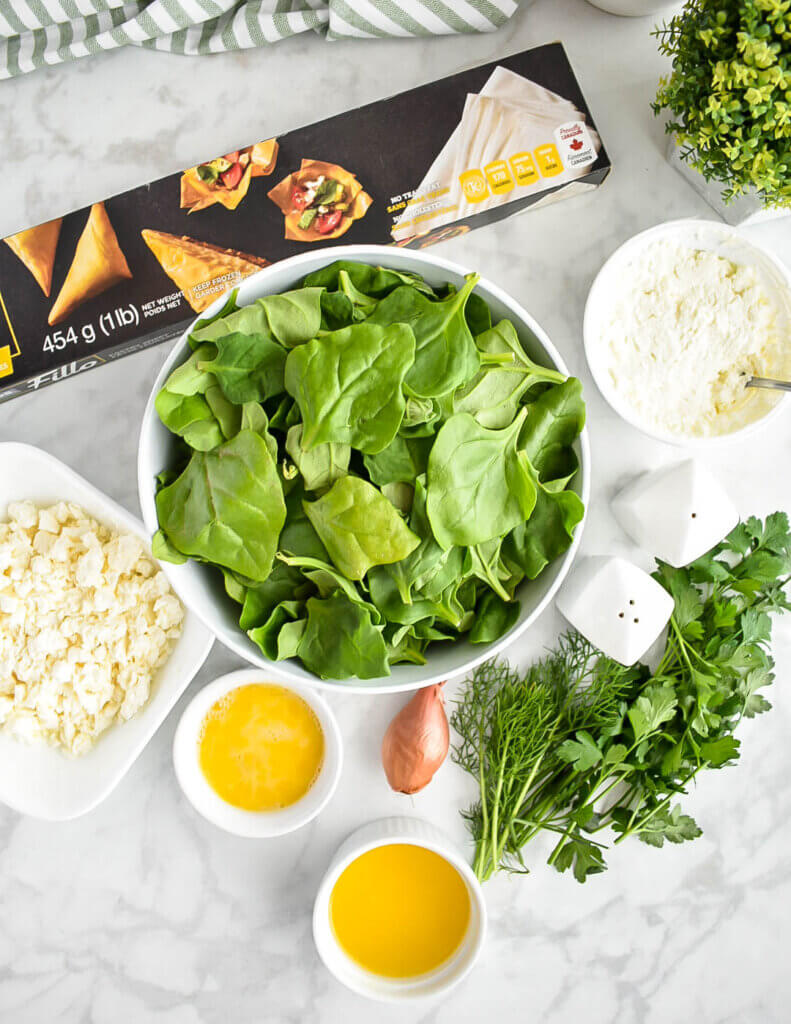
Ingredients in Spanakopitakia
- Spinach: fresh spinach is preferable. Remove long stems as you want to use spinach leaves and not stems in the spinach filling. I often opt for baby spinach and then chop it so it is easy to mix into the spinach mixture and scoop onto your filo sheets.
- Onion: finely chopped onion is added to the filling for flavour. You can also use green onions (spring onion) instead. I tend to use what I have on hand.
- Olive oil
- Feta cheese: good quality Greek feta is recommended.
- Ricotta cheese: added for creaminess. Its mild flavour also helps offset the saltiness of feta cheese.
- Eggs
- Fresh herbs: fresh parsley and fresh dill
- Seasoning: salt and pepper
- Filo: I use store-bought filo dough (often spelled phyllo as well) that has been defrosted to keep this as simple as possible.
- Butter: melted butter to brush onto filo
Note: recipe quantities and full instructions are in the recipe card at the end of this post.
How to make Spanakopitakia (Spinach and Feta Filo Triangles)
This recipe makes about 36 triangles but this will depend on how many sheets of filo came in your package. From each sheet of filo, you get 3 triangles.
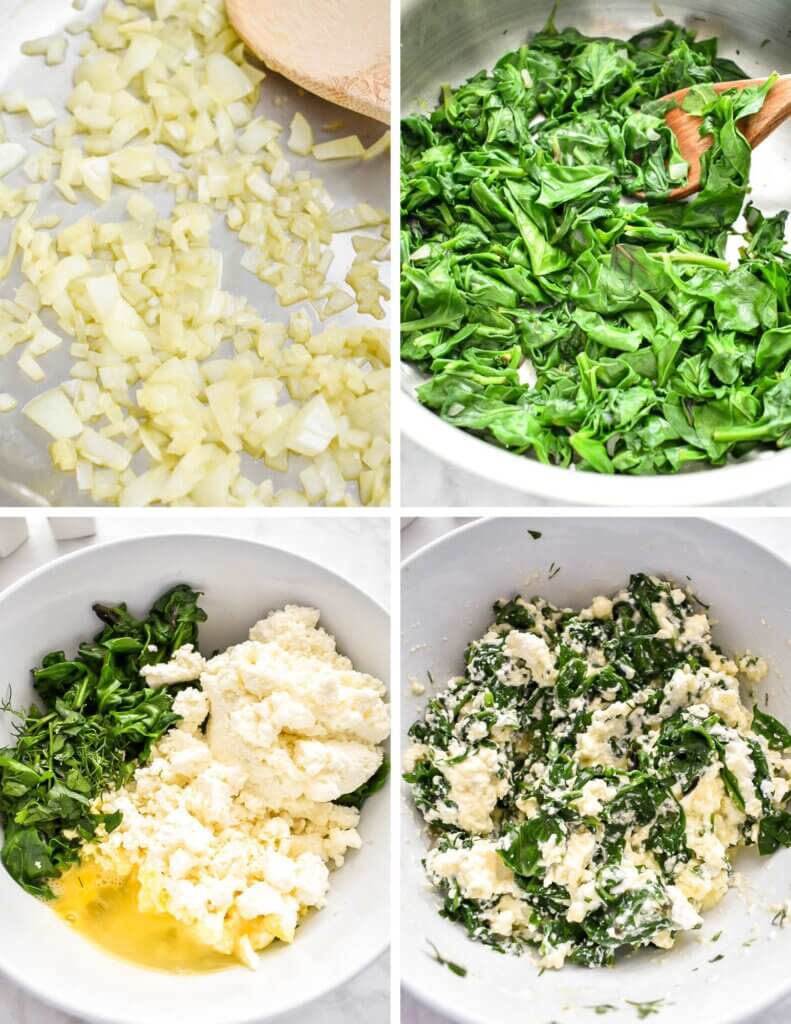
1. Make the spanakopita filling. Heat olive oil in a skillet and add the onion. Saute for a few minutes and then add the spinach in batches, stirring until it wilts. Remove from heat and transfer the spinach to a colander or sieve. Press down with a wooden spoon to remove any moisture. Place the spinach in a large bowl and add the remaining filling ingredients. Mix everything well and then set aside.
2. Divide filo sheets into long strips: Remove the filo sheets from the package and cut them with a sharp knife into equal strips (into thirds widthwise).
3. Assemble: Working with one piece of filo at a time, use a pastry brush to brush it with butter and then fold it in half. Place a small spoonful of the filling mixture at one end and carefully fold it over to make a triangle shape. Continue to fold it over onto itself in a triangle pattern. Once you reach the end, brush the filo with some butter to help seal the triangle. Brush the entire triangle with butter on the outside and place it on a baking sheet. Repeat with all of the remaining filo.


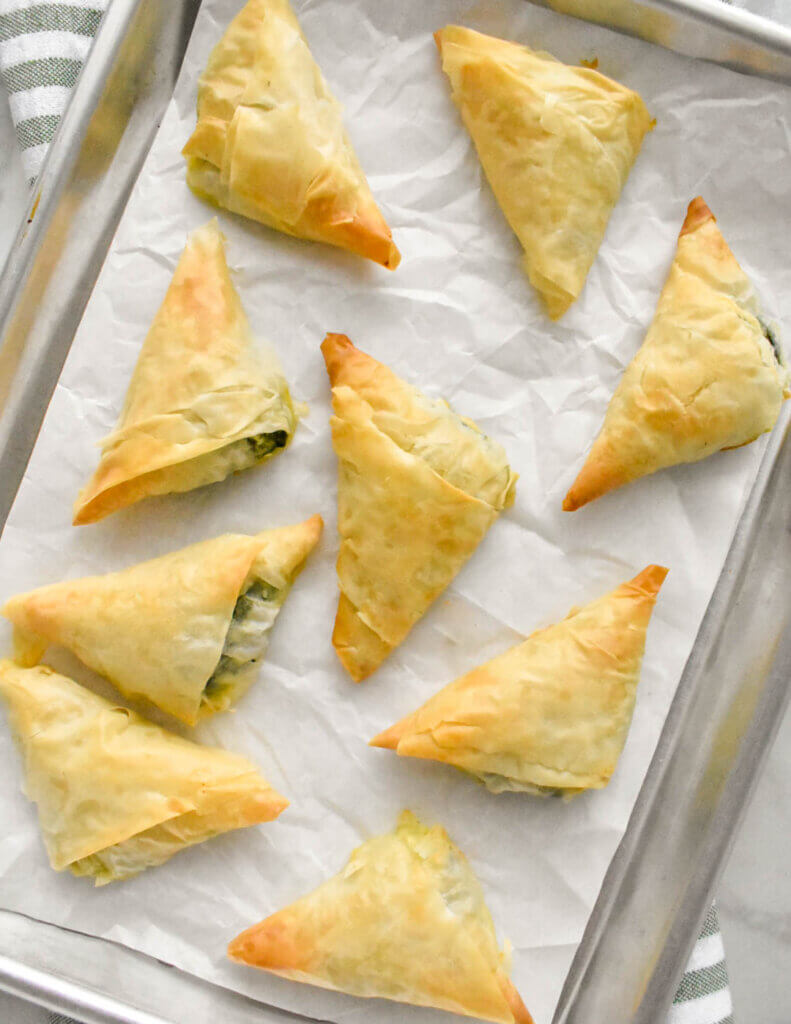
4. Bake: Place triangles on the baking tray (or multiple baking trays if you are going to bake them all at once) so they are not touching. Bake in the preheated oven for approximately 23-25 minutes or until the filo turns a nice golden brown.
How to freeze this spinach and feta triangles recipe
These spanakopitakia triangles can be made in advance which makes them great to have on hand for parties or even unexpected guests showing up! Our freezer is almost always stocked with these!
To freeze spanakopitakia, make them following the steps outlined in the recipe but do not bake them. Instead, once the triangles are formed and brushed with butter, line a freezer safe airtight container with parchment paper and arrange a single layer of triangles on it. Then place another parchment on top of them and arrange a second layer. Repeat with as many layers as you have space for in your container. Alternatively, you can freeze them in a freezer safe bag but just be sure that the triangles are separated with parchment or they will freeze together and be difficult to separate.
To bake them, heat your oven to 350F and line a baking sheet with parchment paper. Bake them from frozen (do not thaw) until the filo is golden brown. Enjoy!
How to reheat spanakopitakia
If you have baked your spanakopitakia and have leftovers in the fridge that look as though they are starting to go soggy, don’t worry. To reheat them, bake them in the oven again until warmed through and the filo will crisp up again. Don’t microwave them as they will become really soggy.
I hope you enjoy this simple appetizer jam-packed with spinach and feta filling! The fun triangular shape makes them perfect individual servings and a fun hand-held appetizer to enjoy. Kali orexi (bon appetit)!
-Cathy
You may also like:
Spanakopita (this is essentially the same recipe with double the filling formed into a pie instead of triangles!)
Spanakopita Egg Cups
Greek Spanakopita Chicken Meatballs
Spanakopita Quesadilla
Kolokithopita (Greek Zucchini Pie)
Spanakopitakia (Spinach and Feta Filo Triangles)
Ingredients
For the Filling
- 1/2 lb spinach fresh, chopped
- 1/4 onion finely chopped (can substitute green onions as well)
- 2 teaspoons olive oil
- 2/3 cup feta cheese crumbled
- 1/3 cup ricotta cheese
- 1 large egg beaten
- 1 tablespoon fresh parsley chopped
- 1/2 tablespoon fresh dill chopped
- salt and pepper
For the Filo Crust
- 1 package filo
- 1/2 cup butter melted (can substitute olive oil)
Instructions
- Preheat oven to 350F and line 2 baking sheets with parchment paper.
- Heat olive oil in a skillet and add the onion. Saute for a few minutes until they begin to soften and then add the spinach in batches, stirring until it wilts.
- Remove from heat and transfer the spinach to a colander or sieve. Press down with a wooden spoon to remove any moisture.
- Place the spinach in a large bowl and add the remaining filling ingredients. Mix everything well and then set aside.
- Remove the filo sheets from the package and cut them into thirds width-wise (see photo in blog post above).
- Working with one piece of filo at a time, brush it with butter and then fold it in half. Place a small spoonful of the filling mixture at one end and carefully fold it over to make a triangle shape (see photo instructions in blog post). Continue to fold it over onto itself in a triangle pattern. Once you reach the end, brush the filo with some butter to help seal the triangle. Brush the entire triangle with butter on the outside and place it on a baking sheet. Repeat with all of the remaining filo.
- Arrange the spanakopitakia triangles on the baking sheet so they are not touching. Bake in the oven for approximately 23-25 minutes or until the filo turns a nice golden brown.
Note: Metric ingredient measurements are provided as a courtesy using a third-party calculator and are rounded to the nearest unit. The recipes provided on this site have not been tested with metric measurements and their accuracy cannot be verified.
Nutrition
The nutritional information provided is based on third-party calculations and is an estimate only. Accurate nutritional facts will vary based on the particular brands used, portion sizes, measurement accuracy and more.






My youth was also spent at the kitchen counter with my mother hours and hours on end preparing Greek foods….brought back tears and very fond memories. This is a bit different, but this was oh soooo yummy!!!!!
Thank you! Food is at the center of so many fond memories and I absolutely loved (and still do) being in the kitchen with my mom. I found my love of cooking in her kitchen and love continuing the traditions I learned in my own today!