Helpful tips for drying your favorite herbs using 3 different methods! My step by step guide will help you dry and store your herbs for year round use!
We are in the middle of a hot, hot summer and my garden herbs are out of control! They have grown to be so big and lush and, with a name like Herbs & Flour, you know I am loving it!
As my garden is producing waaaay more herbs than I can use in time, I have harvested herbs twice now to dry and store for year round use. Harvesting herbs before the season is out doesn’t mean that you will be out of fresh herbs for the rest of summer. Cutting them back actually stimulates new growth! Just be sure to leave some leaves on your herb plant. Trim them but don’t leave them bald as leaves are actually how plants make their food through photosynthesis.
Drying herbs is so easy to do and an easy way to add herby flavour to my dishes even if I don’t have fresh herbs on hand. Forget those store-bought jars which (sometimes) contain stale herbs and cost $$. You can use the herbs you have on hand and pay a total of zero dollars for your very own supply. This way, you know you are getting freshly dried herbs that will retain their flavour!
So how do you dry herbs? If you have not attempted the process , you have come to the right place! It’s simple and you don’t need any fancy equipment to do it.
My favourite methods for drying herbs
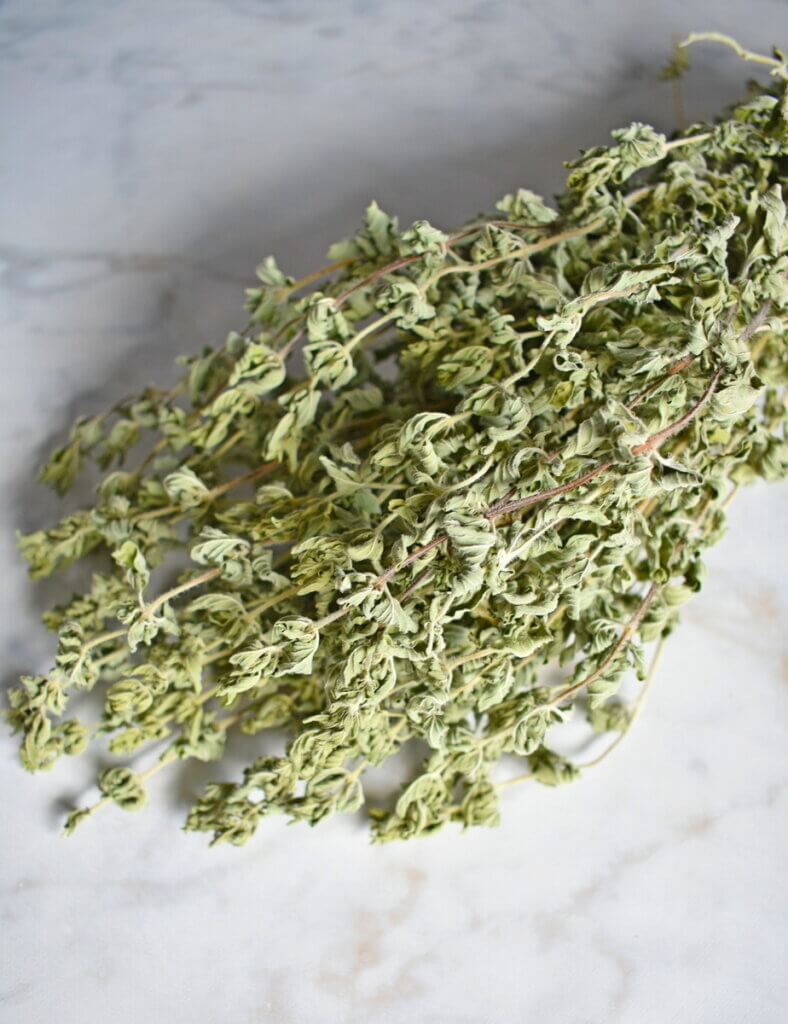
There is more than one way to dry herbs! My preferred method is to air dry them. Its simple, easy and doesn’t require much effort. It works like a charm and produces flavourful dried herbs that smell so lovely!
If you are short on space to hang them up, you can also dry the herbs in paper bags in your fridge (my moms preferred method)! Or lay them flat on a clean dish towel to dry (my mother in law loves this method. I use this too for smaller quantities when I dry lavender or rosebuds). Herbs can also be dried in your oven at a low temperature.
Basically, there are 4 methods you can use to dry your herbs without fancy equipment:
- Hang them in bundles (my preferred method)
- The paper bag method
- Lay them flat method
- Oven-drying
I haven’t used the oven drying method myself as I find it is too fussy. The temperature needs to be lower than the lowest setting on my oven and the door should be left ajar. You also have to carefully watch to ensure they don’t burn. Too fussy for me.
I much prefer the first 3 methods (especially the 1st)! Below are the steps I use to dry my herbs.
How to dry fresh herbs
No matter which method you decide to go with, there are 5 steps to drying fresh herbs.
- Step 1: Trim your fresh herbs
- Step 2: Wash your herbs
- Step 3: Pat your herbs dry
- Step 4: Dry them!
- Step 5: Store them
Step 1: Trim your fresh herbs
Remember what I said about photosynthesis? If you are trimming your herbs mid-season and are hoping to have more growth, remember not to trim all the way to the ground. You will want to leave some leaves on your plants for them to continue to live and produce. A basic rule of thumb is to leave a minimum of 1/3 of the plant in tact.
Step 2: Wash your herbs
Place the herbs in a large mixing bowl and fill it with water. Submerge the herbs and swish them around gently to release any dirt that may be stuck to them. Drain and repeat the process with fresh water until the water is clear and your herbs are dirt-free.
If you are harvesting multiple herbs at one time, be sure to keep them separate so they don’t get mixed up.
Step 3: Pat your herbs dry
Once washed, place your herbs on paper towel or a clean dish cloth and gently pat them dry as best as you can. Be gentle and don’t squish them down as you will crush their leaves and release oil – and you want to preserve this for the best flavour and aroma!
You can also leave them out to dry on paper towel for a bit to ensure they aren’t too damp- you don’t want to encourage mold-growth in the next step.
Step 4: Dry your herbs
Depending on which method you choose for drying your herbs, this step will be different.
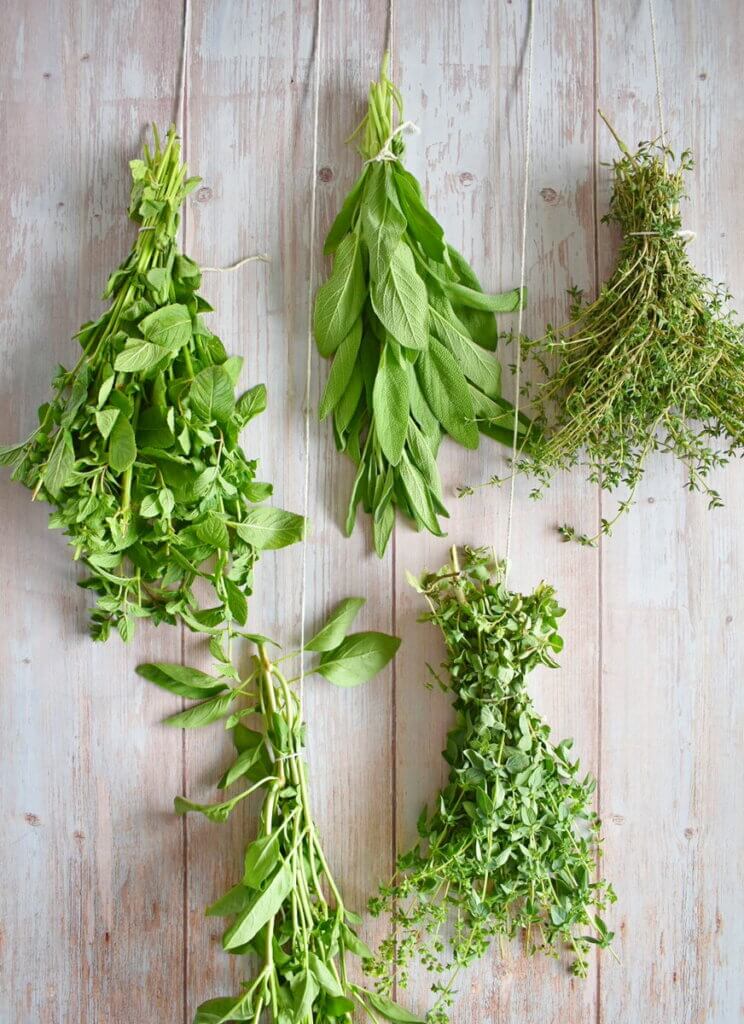
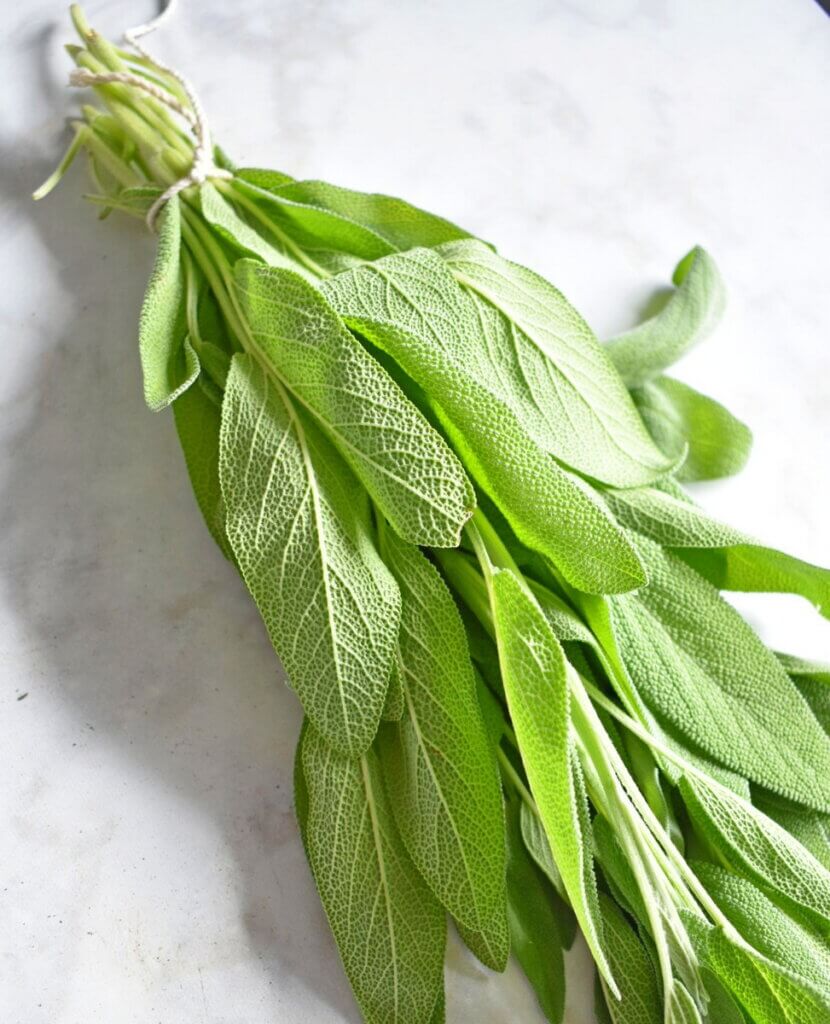
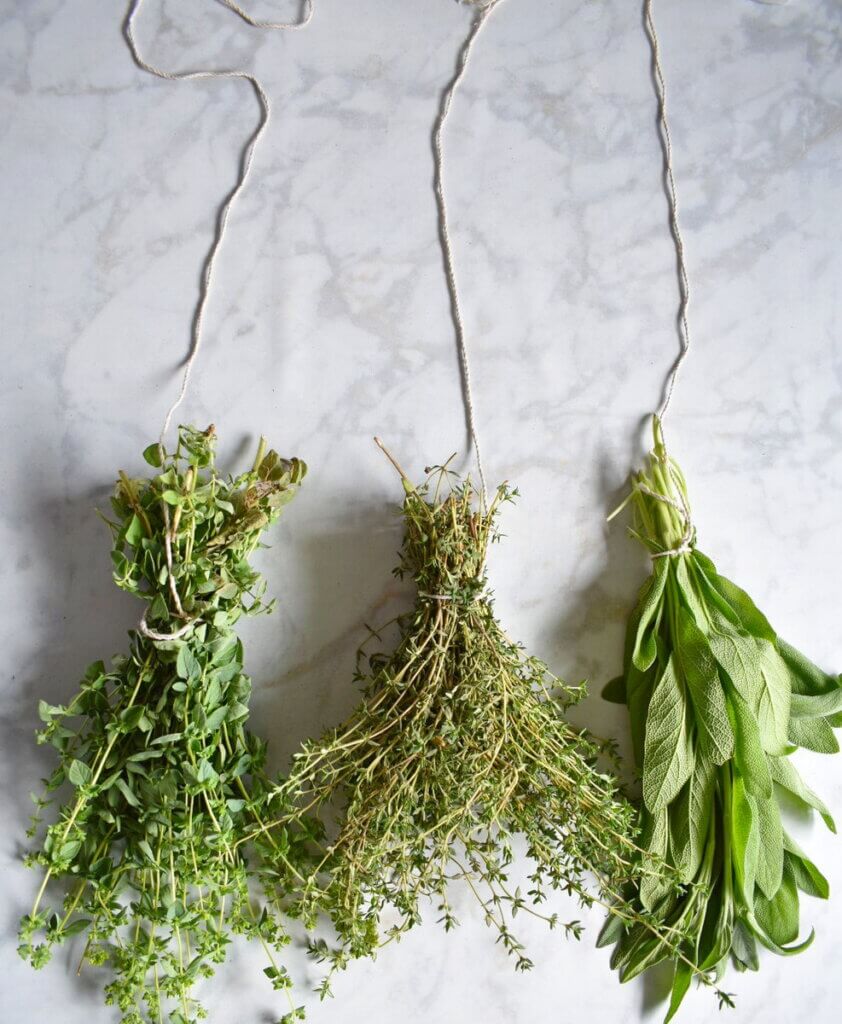
To dry your herbs by hanging them (my preferred method):
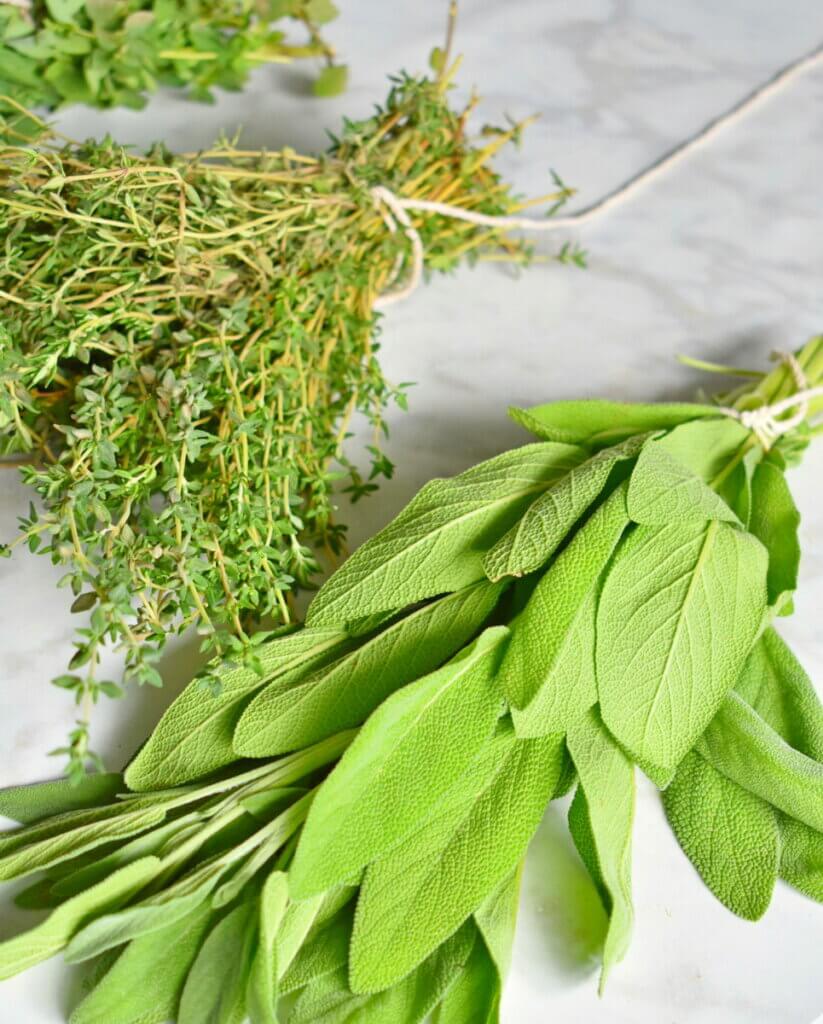
You will want to gather up your herbs and tie them up by their stems in a bunch. Tie your string about about an inch to an inch and half up the stem (see picture below)
If you have a huge harvest, you can tie them up in several bundles. My thyme plant was out of control so I tied up 3 different thyme bundles this time. Bundles should be relatively small in size so as not to cause rot or mold.
Leave one end of your string long enough that you can hang it up to dry in a cool, clean and undisturbed area of your home (or garden shed).
Avoid hanging it near a humid area- for me, I avoid hanging it near cabinets by my stove as the steam from boiling water can get out of control, especially if I forget to turn on the exhaust fan…oops! Great for a facial though…
To dry your herbs in a paper bag:
Place the herbs in a paper bag. Fold down the top of the paper bag and place it in the fridge. Check on it in a couple weeks to see if they have dried through. If not, close up the bag again and give them another day or two (or as much as needed).
To dry your herbs by laying them out to dry:
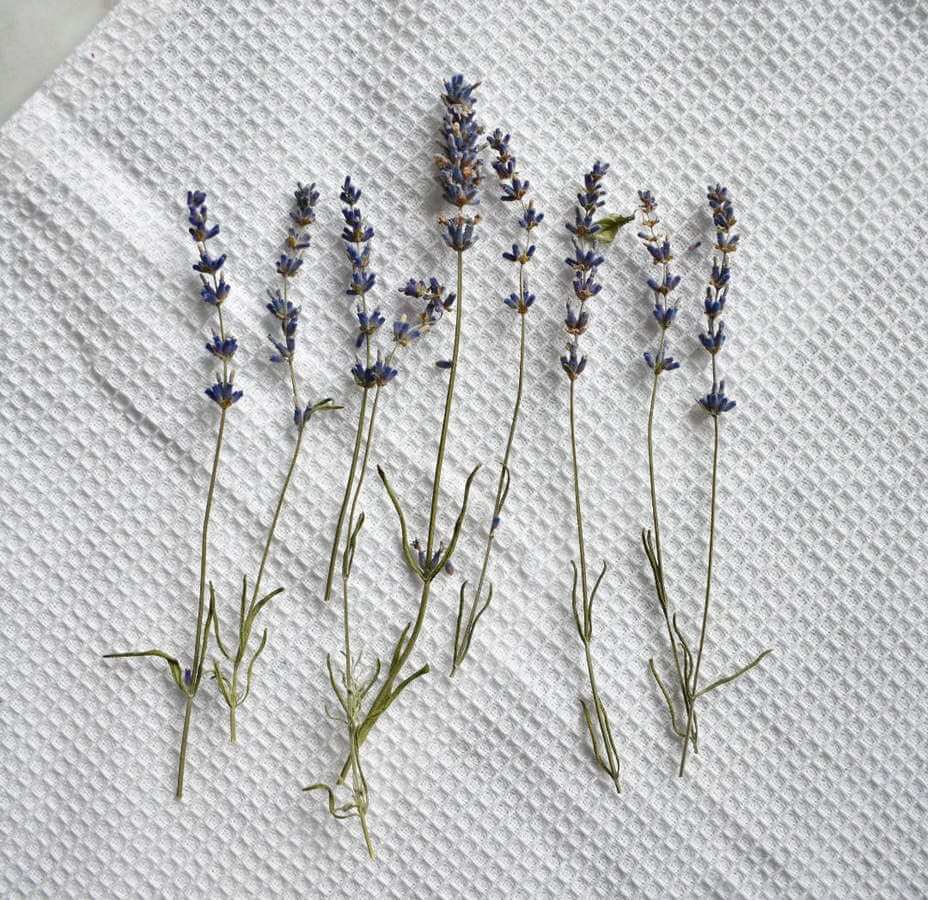
Lay out a clean dish towel to spread out your herbs on it. You will need to remove the leaves from their stems if you are using this method so as to allow maximum exposure to air to help them dry. Be sure not to overlap them. They should dry in about a week and half’s time, depending on the temperature and humidity levels of the room.
Be sure to lay them out in an area of the house that is out of the way.
This is the method I use for lavender.
Step 5: Store them
Once your herbs are dried, you are ready to store them! If you notice any signs of mold on any leaves, you will want to discard it.
To store the herbs, I remove the dried leaves from the stems by running my fingers down the stem. They should easily come away from the stem when it is dry. Do this on a platter or paper towel so that you can gather up the dried herbs easily.
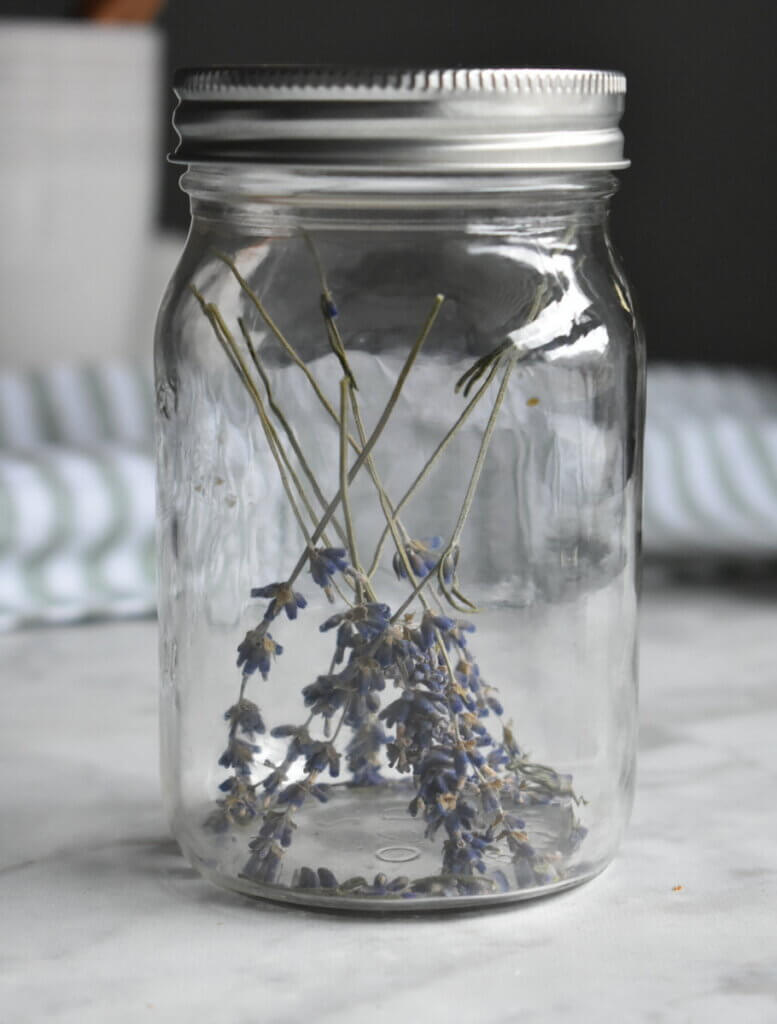
For lavender, you can store the lavender stems and all in a mason jar.
Once you have removed the herb leaves from their stems, you can place the herbs in clean, dry jars and store them in your spice cabinet!
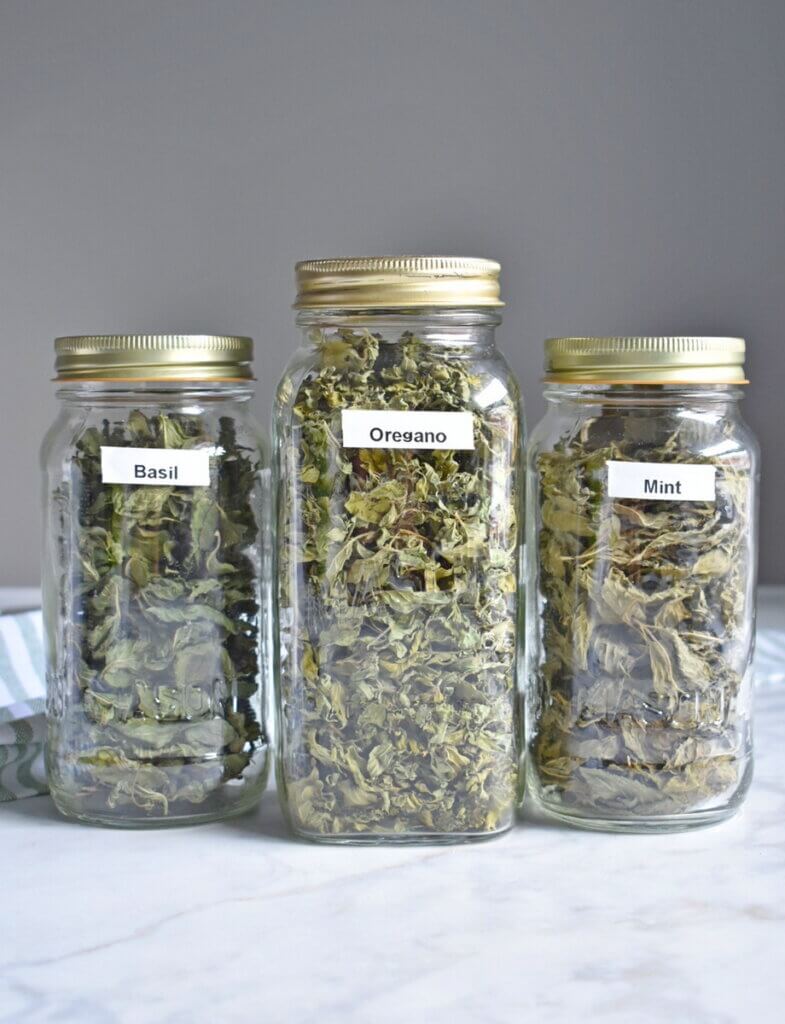
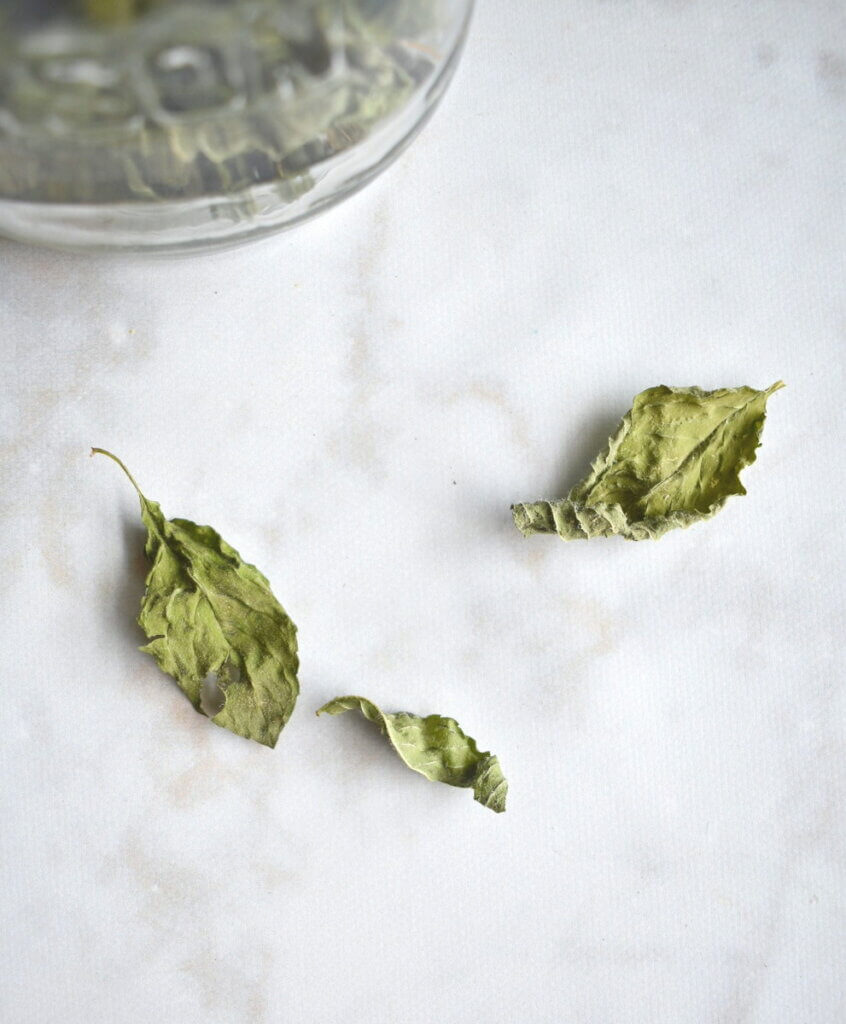
I don’t crush the herbs until I am ready to use them. For example, the basil leaves are still quite large but I like to store them as is in a large mason jar. When I am ready to use them, I crush them using my fingers to release the oil. This results in the most flavour!
That’s it! Pretty easy! I hope you found this post helpful! As you can probably tell, I absolutely adore using herbs in my cooking and so preserving them for use year round is so important for me!


Thank you for this! I’m growing some basil that I would love to dry. Great post!
Thank you! So happy it helped! Our herbs have been growing like crazy!
WOW! This was great information. I never dried out herbs before. This will be my first time. I have an abundance of Parsley and Basil in my garden that I am looking to dry out. Thank you for this information! Most Helpful!!
So happy you found this information useful!