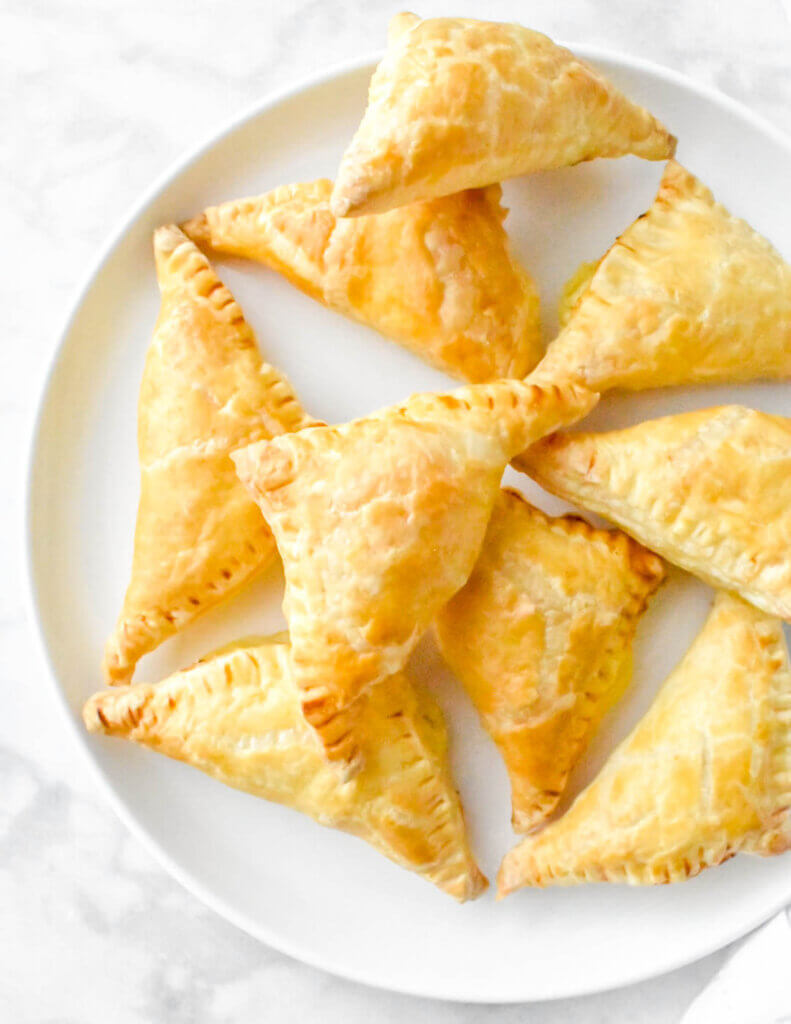
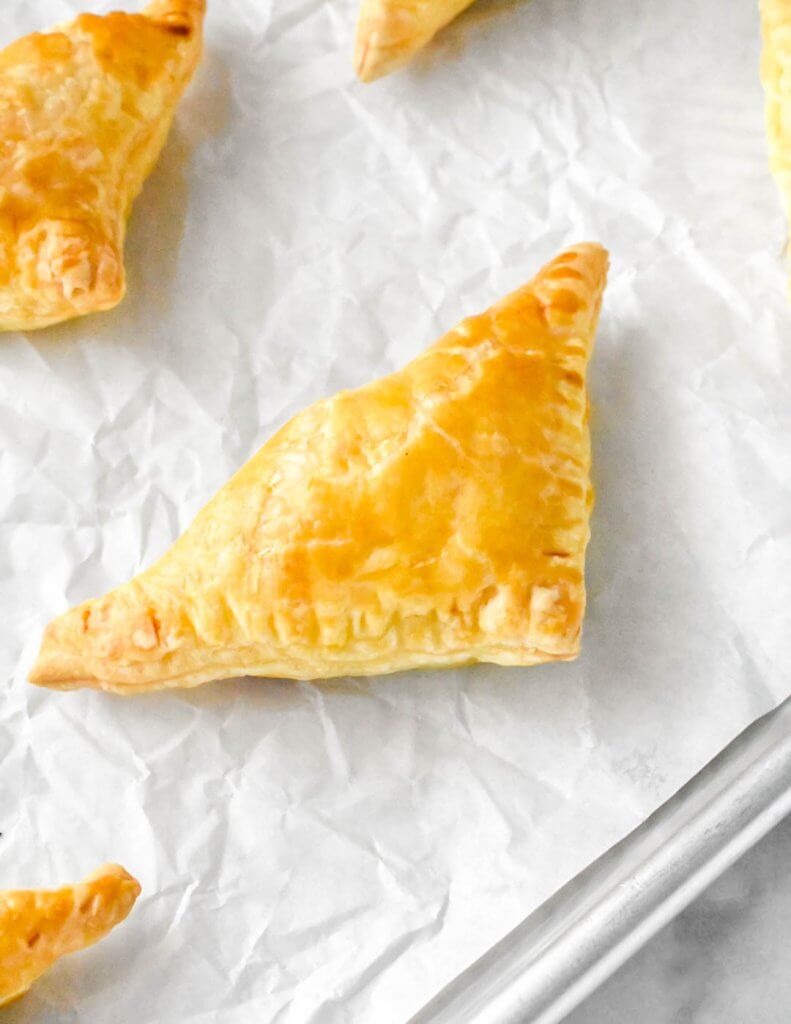
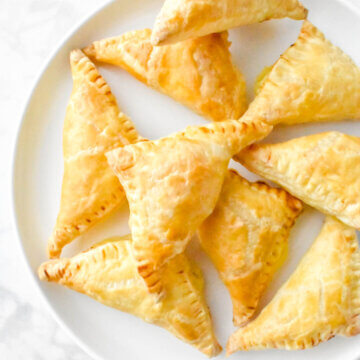
This Tiropita with Puff Pastry recipe is a simplified Greek feta cheese pie that is often served as an appetizer or snack but makes an equally delicious meal! This cheese pie recipe is an easier twist on a classic Greek tiropita.
Of all of the Greek pitas (pies), tiropita has always been my absolute favorite. It is also my husbands favorite so when I noticed that I had yet to share this recipe on my blog, I had to rectify that!
If you have tried tiropita before, then you know just how delicious it is. If you are coming across this recipe for the first time, then prepare to fall in love with this cheesy treat!
Traditionally, tiropita is usually made with filo dough. The homemade kind. Having said that, every time I have gone to Greece I have eaten my fair share of tiropitas (probably more than my fair share- ha!) and there are so many variations out there. Some with filo dough, others with a bread-like crust and some with puff pastry.
This recipe uses puff pastry. The store bought kind.
Why?
Because of all the ways you can make tiropita, this is hands down the easiest way to do it. Also, the buttery puff pastry is dang good. So why not take a short cut that also tastes good?
This is my favorite quick and easy tiropita recipe that is perfect for a snack, meal, or even an appetizer for a party.
What is the difference between spanakopita and tiropita?
If you are Greek, than you are no-doubt an expert on these classic pies. They are easily the most popular pites in Greek cuisine. If you aren’t from a Greek background, you may not have heard of tiropita. Spanakopita is definitely the pie that is more popular and well-known in North America at least.
So what is the difference between spanakopita and tiropita? Well, really it just comes down to one ingredient- spinach. It is present in spanakopita and not in tiropita. Tiropita is essentially a spanakopita with the spinach left out of it. Purely cheese-stuffed.
So if you are a cheese-lover like me and my hubby, tiropita is definitely the pie for you!
How do you make tiropita with puff pastry?
As mentioned this recipe for tiropita is one of the easiest ways you can make it, requiring only 10 minutes of prep time. That’s why I love this version!
- Preheat your oven and prep the baking sheets. Preheat oven to 400F and line 2 baking sheets with parchment paper.
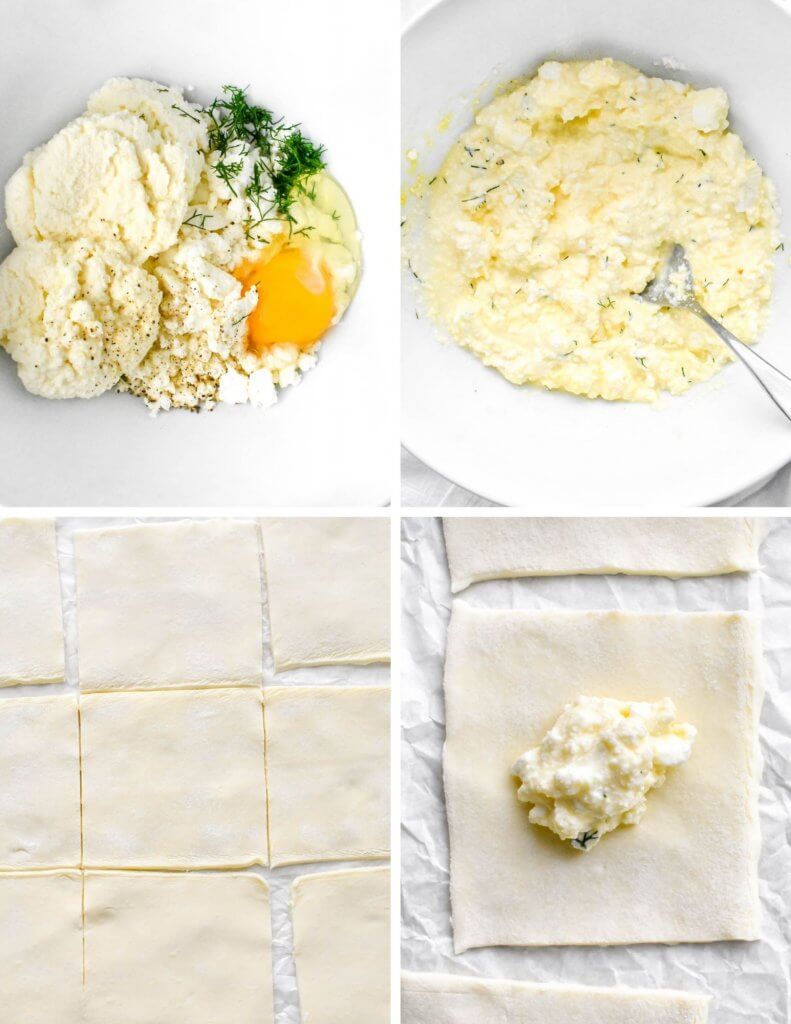
2. Mix your filling. In a bowl, mix the feta, ricotta cheese, dill, salt and pepper and egg to create the filling. [Tip: mix all of the ingredients except the egg first. Taste and adjust seasonings and then add the egg.]
3. Slice your puff pastry. Cut your pastry sheets into your desired size. I used 2 square sheets and cut each of them into 9 pieces.
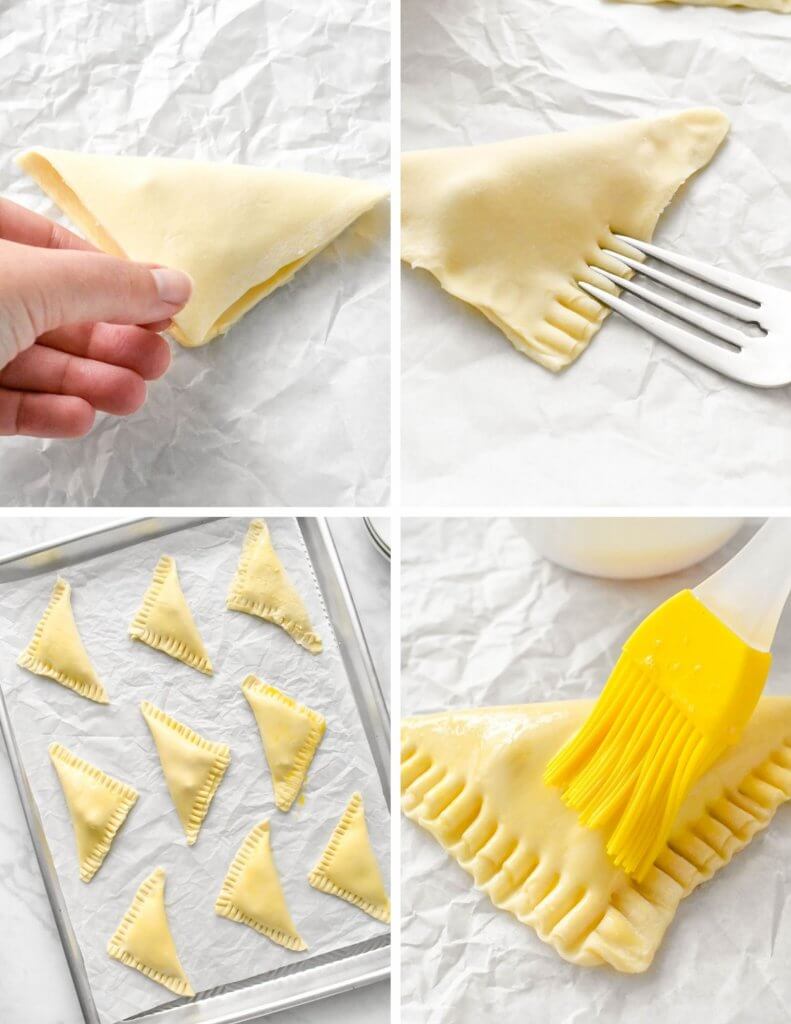
4. Spoon the filling onto the pastry. Spoon the feta mixture into the middle of the puff pastry square. Fold over one corner of the puff pastry sheet to form a triangle shape. Gently press down with your fingers.
5. Seal the parcels. Using the tines of a fork, press down gently around the edges to seal the puff pastry parcels. Arrange the puff pastry parcels on the baking sheets, leaving room for them to expand when they bake.
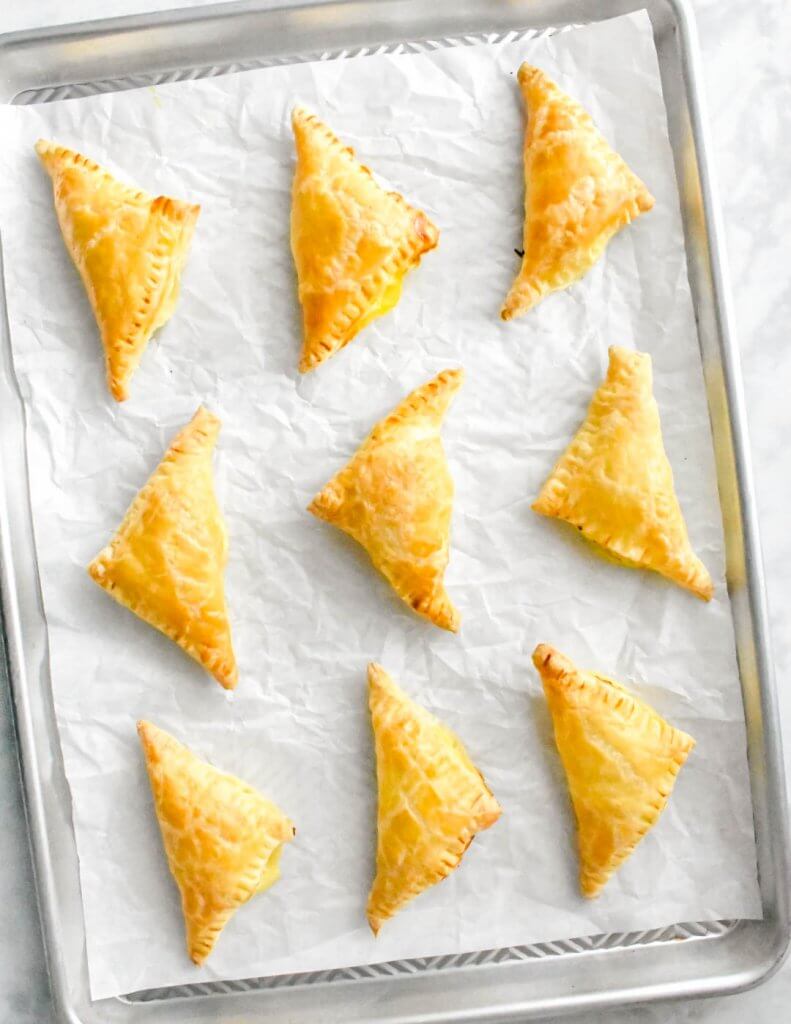
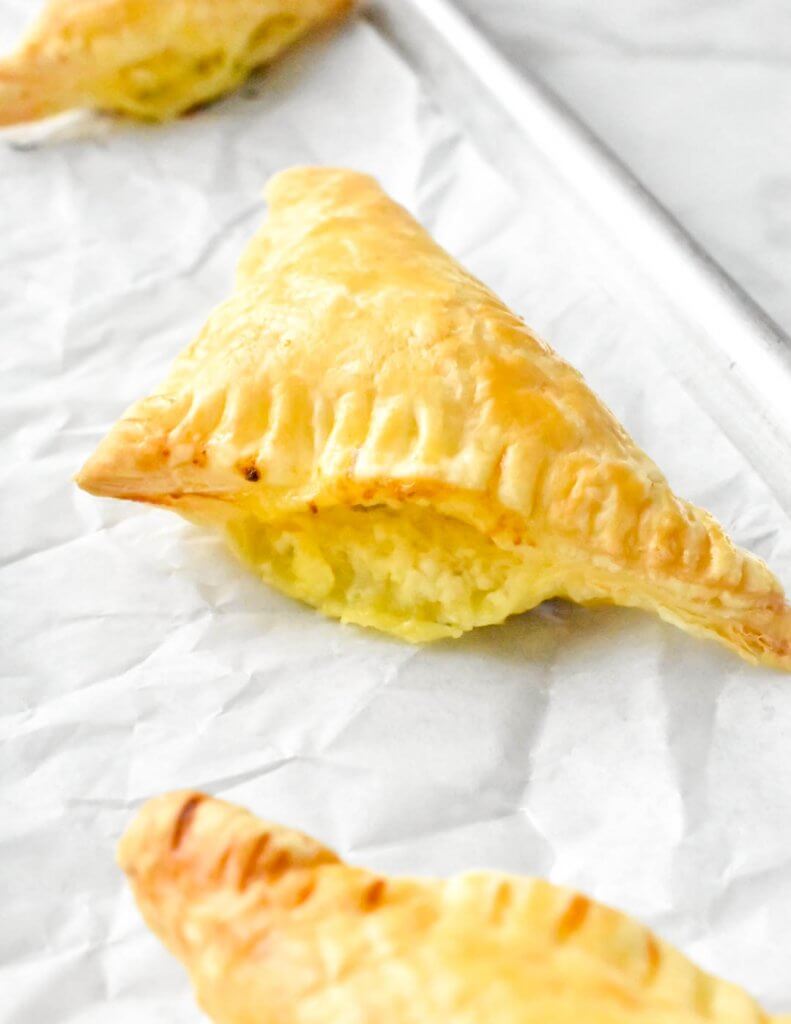
6. Egg wash and bake! Mix the egg and water to form the egg wash. Brush each tiropita with the egg wash. Bake in the oven for 20-25 minutes or until golden brown.
How to store and reheat tiropita with puff pastry
Since tiropita with puff pastry contains cheese (and lots of it), you will need to store leftovers in the fridge. Once the tiropita is cooled, place it in an airtight container and keep it in the fridge.
To reheat the tiropita, place it on a baking sheet and pop it back into the oven until it is heated through. I do not recommend microwaving tiropita as it will become too soggy. The oven or an air fryer are the best options.
I hope you enjoy this recipe as much as we do in our home!
-Cathy
You may also like:
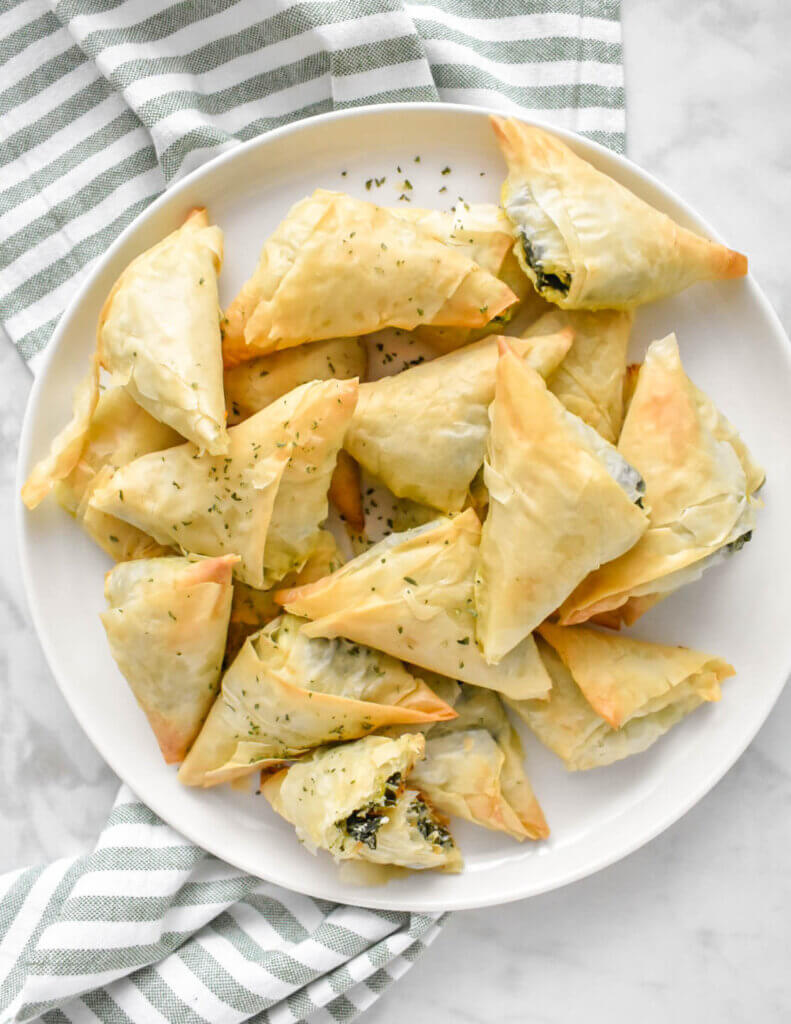
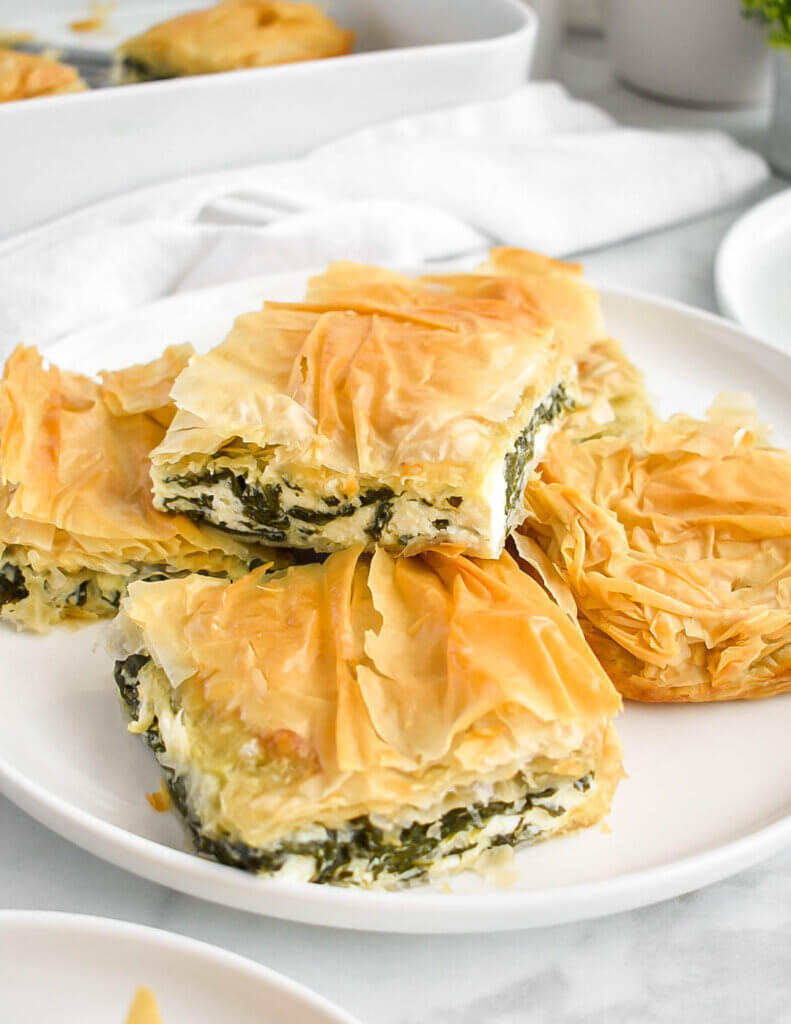
Spanakopitakia (Spinach and Feta Filo Triangles) (You can also use the filling from this recipe and follow the instructions to make filo triangles)
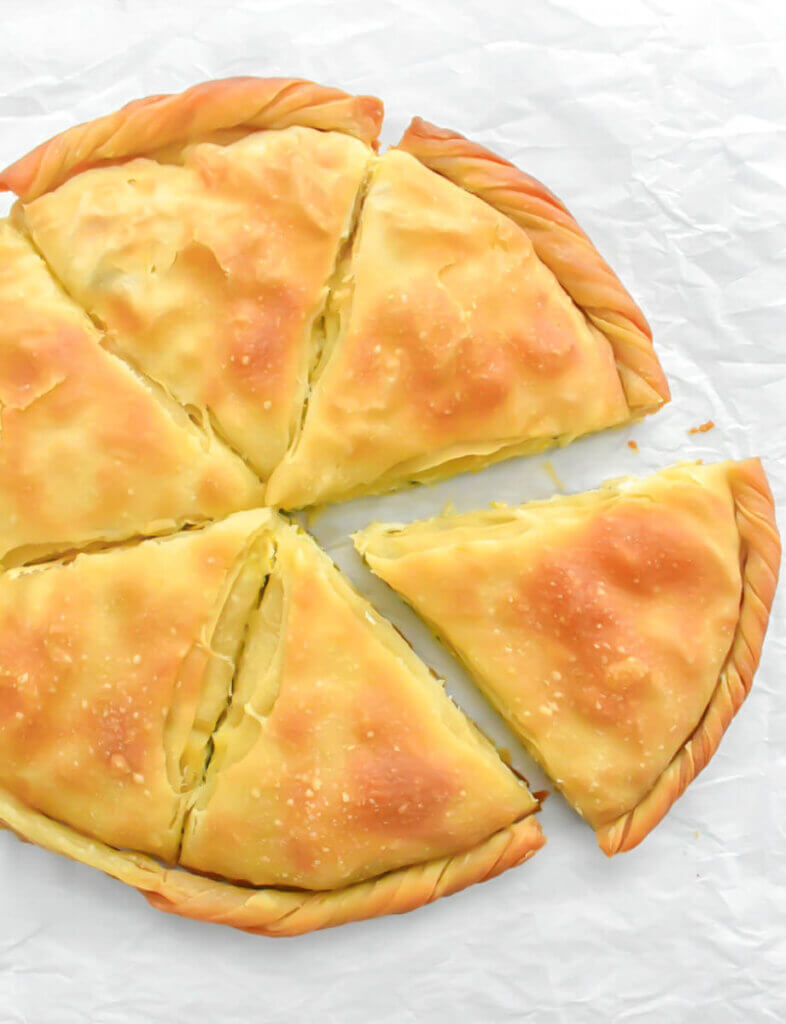
Prasopita (Greek Leek Pie)
Spanakopita
Tiropita with Puff Pastry
Ingredients
- 1 cup feta crumbled
- 3/4 cup ricotta cheese
- 1 tablespoon dill chopped (can sub 1 teaspoon dried dill)
- salt and pepper to taste
- 1 egg
- 2 sheets puff pastry (400g), thawed
- 1 egg + 1 tablespoon water (for the egg wash)
Instructions
- Preheat oven to 400F and line 2 baking sheets with parchment paper.
- In a bowl, mix the feta, ricotta cheese, dill, salt and pepper and egg to create the filling. [Tip: mix all of the ingredients except the egg first. Taste and adjust seasonings and then add the egg.]
- Cut your pastry sheets into your desired size. I used 2 square sheets and cut each of them into 9 pieces.
- Spoon the feta mixture into the middle of the puff pastry square. Fold over one corner of the puff pastry sheet to form a triangle shape. Gently press down with your fingers.
- Using the tines of a fork, press down gently around the edges to seal the puff pastry parcels. Arrange the puff pastry parcels on the baking sheets, leaving room for them to expand when they bake.
- Mix the egg and water to form the egg wash. Brush each tiropita with the egg wash. Bake in the oven for 20-25 minutes or until golden brown.
Note: Metric ingredient measurements are provided as a courtesy using a third-party calculator and are rounded to the nearest unit. The recipes provided on this site have not been tested with metric measurements and their accuracy cannot be verified.
Nutrition
The nutritional information provided is based on third-party calculations and is an estimate only. Accurate nutritional facts will vary based on the particular brands used, portion sizes, measurement accuracy and more.





What kind of puff pastry did Yu use.There are not so many
around.
I’ve used a number of different brands for puff pastry and have always been pleased with the results. I prefer getting the pre-rolled ones to make life easier but any will do!
OMGOSH this looks delicious. Can’t wait to make them.
Thank you!